Ice Dams: How to Remove Them Safely & Prevent for Good
It’s 2 a.m. in January and there’s a slow, steady plink… plink… plink coming from your ceiling. You flick on the light and see it: a dark stain spreading across the drywall where the wall meets the ceiling — while it hasn’t been above 20°F outside for a week. Your roof isn’t leaking because it’s broken. It’s leaking because a ridge of ice on your gutters is forcing meltwater backward, under your shingles, and into your house.
TL;DR: Ice dams form when heat escaping from your attic melts roof snow, which refreezes at the cold eaves. Never chip ice off a roof — rake snow from the ground, melt a drainage channel with a calcium chloride ice-melt sock, or hire a pro with a steamer. The permanent fix is keeping the attic cold: air-seal attic bypasses, insulate to R-49 in cold climates, and make sure soffit-to-ridge ventilation is working.
What an Ice Dam Is (and Why It Forms)
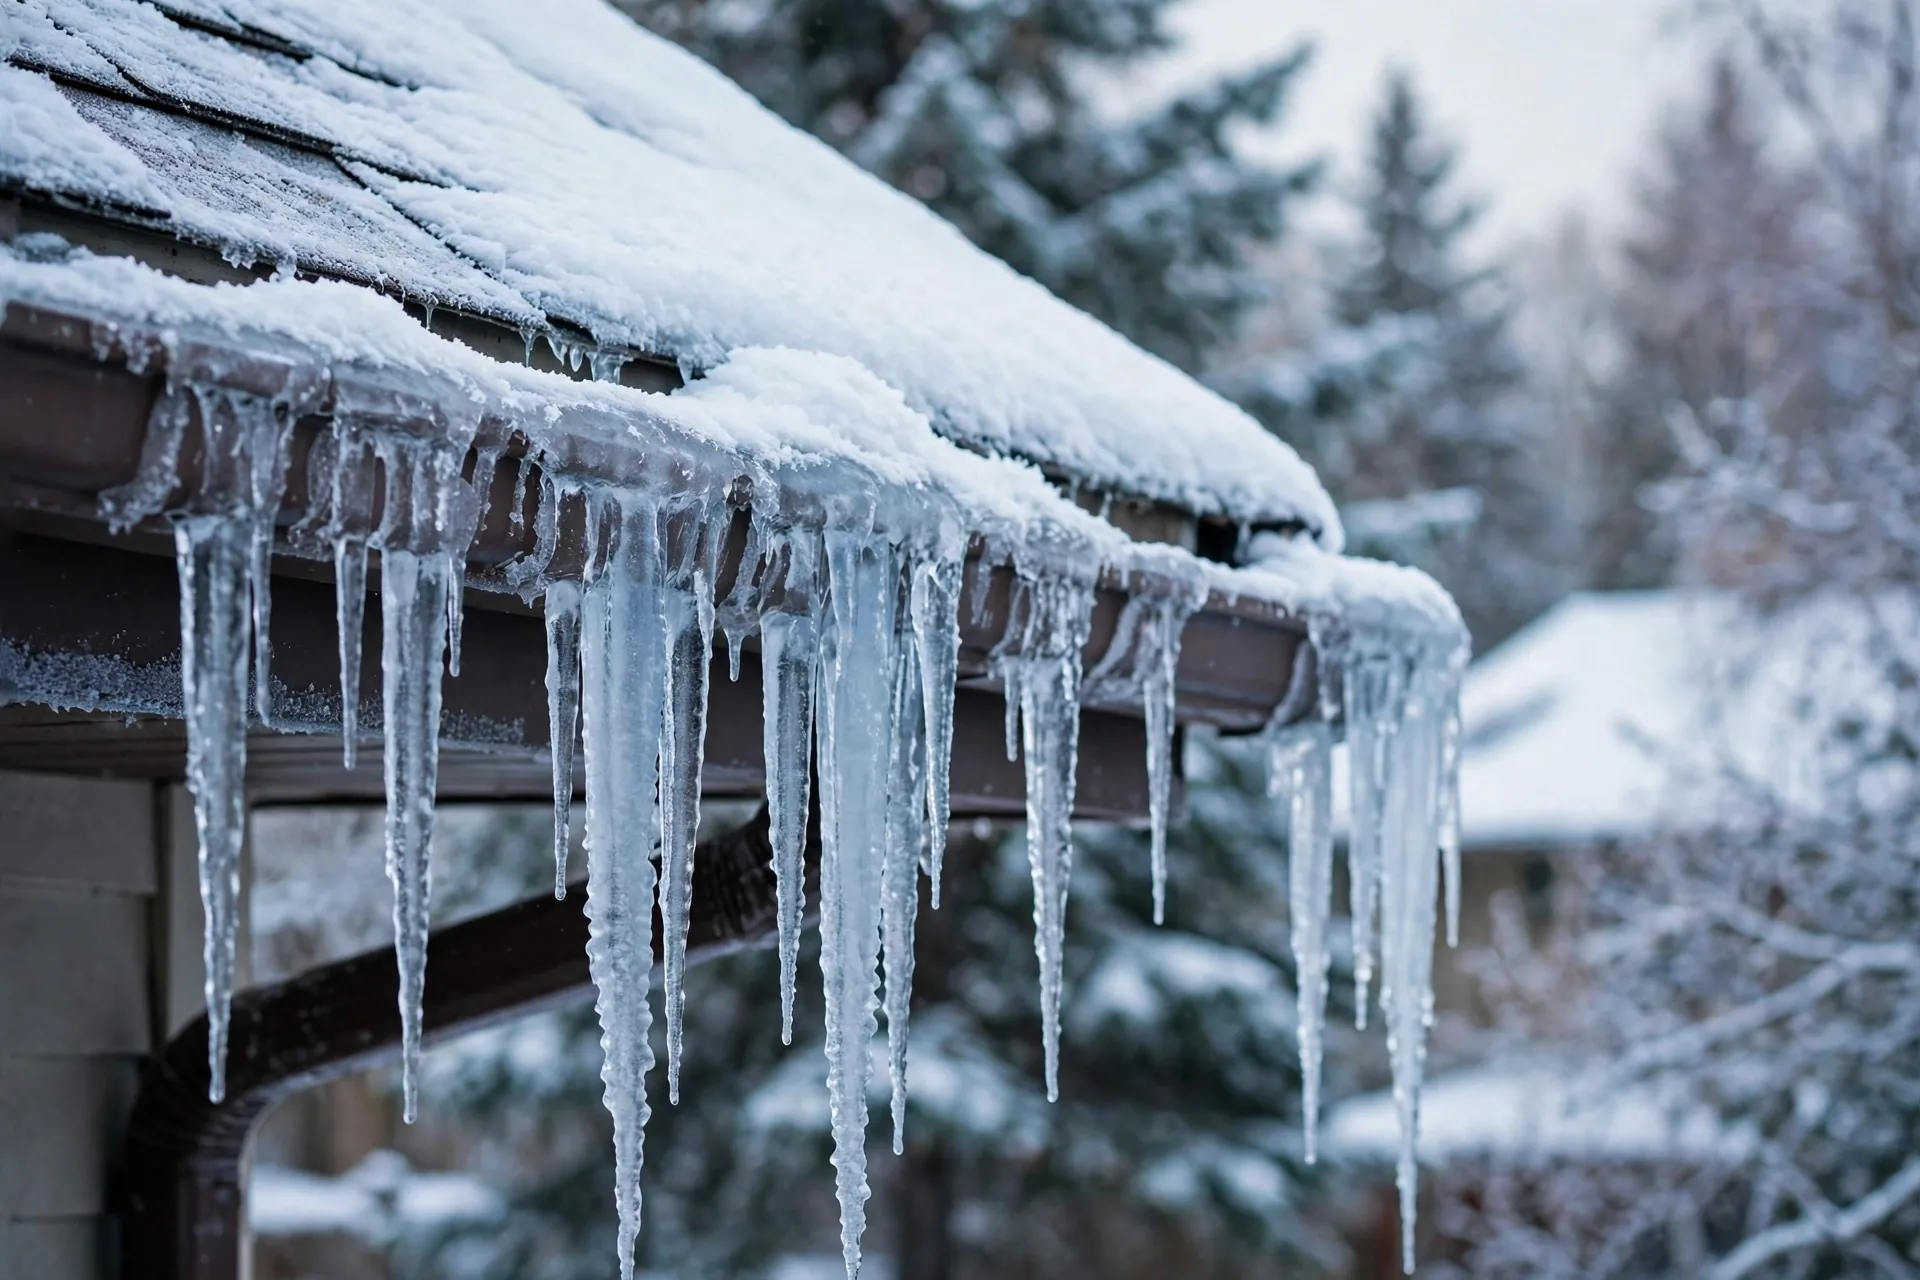
An ice dam is a ridge of ice that builds up along the eave of a sloped roof — often with dramatic icicles beneath. Pretty from the sidewalk; dangerous for your house.
How Heat Escape Builds the Dam
Heat escaping into the attic melts snow on the upper roof; the meltwater runs down and refreezes at the cold eave. Day by day, the ridge grows — and liquid water pools behind it, backing up under the shingles.
Warning Signs
- Icicles longer than a few inches along gutters and eaves
- A thick, glassy ridge of ice at the roof’s edge
- Water stains on top-floor ceilings near exterior walls
- Uneven snowmelt — bare patches near the peak, heavy snow at the eaves
How to Remove an Ice Dam Safely
Most ice dam removal should happen from the ground, not the roof.
1. Rake the Snow Off (From the Ground)
A roof rake ($30–$80) pulls snow off while you stand on the ground. Clear the first 4–6 feet above the eaves. Never stand on a ladder to reach farther up.
2. Melt a Drainage Channel With an Ice-Melt Sock
Fill a sock with calcium chloride ice melt — not rock salt. Lay it perpendicular across the dam every 3–4 feet. About $10–$20 a bag, effective down to around -25°F.
3. Have a Pro Steam It Off
Pros use low-pressure steamers — roughly $400–$800 for a typical house. Call when water is entering the house or the dam is thicker than 3–4 inches. Never substitute a pressure washer or heat gun.
| Method | Typical Cost | DIY Safety | Speed of Relief |
|---|---|---|---|
| Roof rake (from ground) | $30–$80 one-time | High | Days (stops new melt) |
| Calcium chloride sock | $10–$20 per bag | High | Hours (creates drainage) |
| Professional steaming | ~$400–$800 | Highest | Same visit |
What NOT to Do
⚠️ WARNING: Never climb onto an icy roof or lean a ladder against gutters loaded with ice. If reaching the problem requires either one, hire someone insured.
- Don’t chip at the ice with an axe, pick, or hammer. You’ll crack shingles and void your warranty.
- Don’t pour boiling water on it. It refreezes thicker, and thermal shock damages shingles.
- Don’t use a pressure washer or heat gun. Both destroy shingles.
- Don’t leave rock salt sitting on the roof. It corrodes flashing and gutters.
- Don’t ignore a small leak. A January stain becomes rotted insulation and mold by spring.
How to Prevent Ice Dams for Good
A properly built cold-climate roof keeps the attic within about 10–15°F of the outdoor temperature all winter. If your roof is aging, review the signs you need a new roof.
Seal Attic Air Leaks
Sealing gaps with caulk and expanding foam runs roughly $100–$300 DIY, or $500–$1,500 professionally — often the highest-impact winterizing job you can do.
Insulate to R-49 (in Cold Climates)
The US Department of Energy recommends R-49 attic insulation in the coldest zones. Adding blown-in insulation typically costs $1,000–$2,500 professionally.
Ventilate Soffit to Ridge
You need both intake (soffit vents) and exhaust (ridge vent) — one without the other barely moves air.
PRO TIP: In January, check your roof from the street after a snowfall. If snow is melting off in patches while your neighbor’s roof holds an even blanket, your attic is too warm. Uneven melt is the clearest free diagnostic there is.
Quick Fixes That Help (But Don’t Solve It)
- Heat cables keep a drainage channel open but add to your electric bill.
- Roof raking after each heavy storm — good habit, but proper insulation makes it unnecessary.
| Prevention Measure | Rough Cost | Effectiveness |
|---|---|---|
| Air-seal attic bypasses | $100–$300 DIY / $500–$1,500 pro | ★★★★★ |
| Insulate to R-49 | $1,000–$2,500 pro | ★★★★★ |
| Soffit + ridge ventilation | $300–$1,000+ | ★★★★ |
| Heat cables | $200–$600 + running cost | ★★★ |
| Roof raking after storms | $30–$80 rake | ★★ |
Bottom Line
- Ice dams are a heat problem, not a snow problem.
- Remove them from the ground. Roof rakes, calcium chloride socks, and professional steaming — in that order of urgency.
- Never chip ice with tools.
- The permanent fix is a cold attic: air-seal, insulate to R-49, ventilate soffit to ridge.
- October and November are the window. Do the attic work now.
Frequently Asked Questions
Will my homeowner’s insurance cover ice dam damage?
Usually — sudden water damage from an ice dam is typically covered under standard HO-3 policies, though your deductible applies.
Can I just knock the icicles off?
Knock down low-hanging icicles from the ground if they’re a falling hazard — but they’re a symptom, not the problem.
How thick should snow get before I rake the roof?
Rake the bottom 4–6 feet after every 6+ inches of snow in ice-dam-prone regions.
Do heat cables prevent ice dams?
They keep a drainage channel open but don’t stop the dam from forming or address the attic heat causing it.
Should I clear snow from the whole roof or just the edges?
The first 4–6 feet above the eaves is enough for ice-dam control, and it keeps you off a ladder.
When is it time to call a professional?
When water is entering the house, the dam is thicker than 3–4 inches, or you’d need a ladder to reach it.