How to Make a Diaper Cake (No-Waste Method)
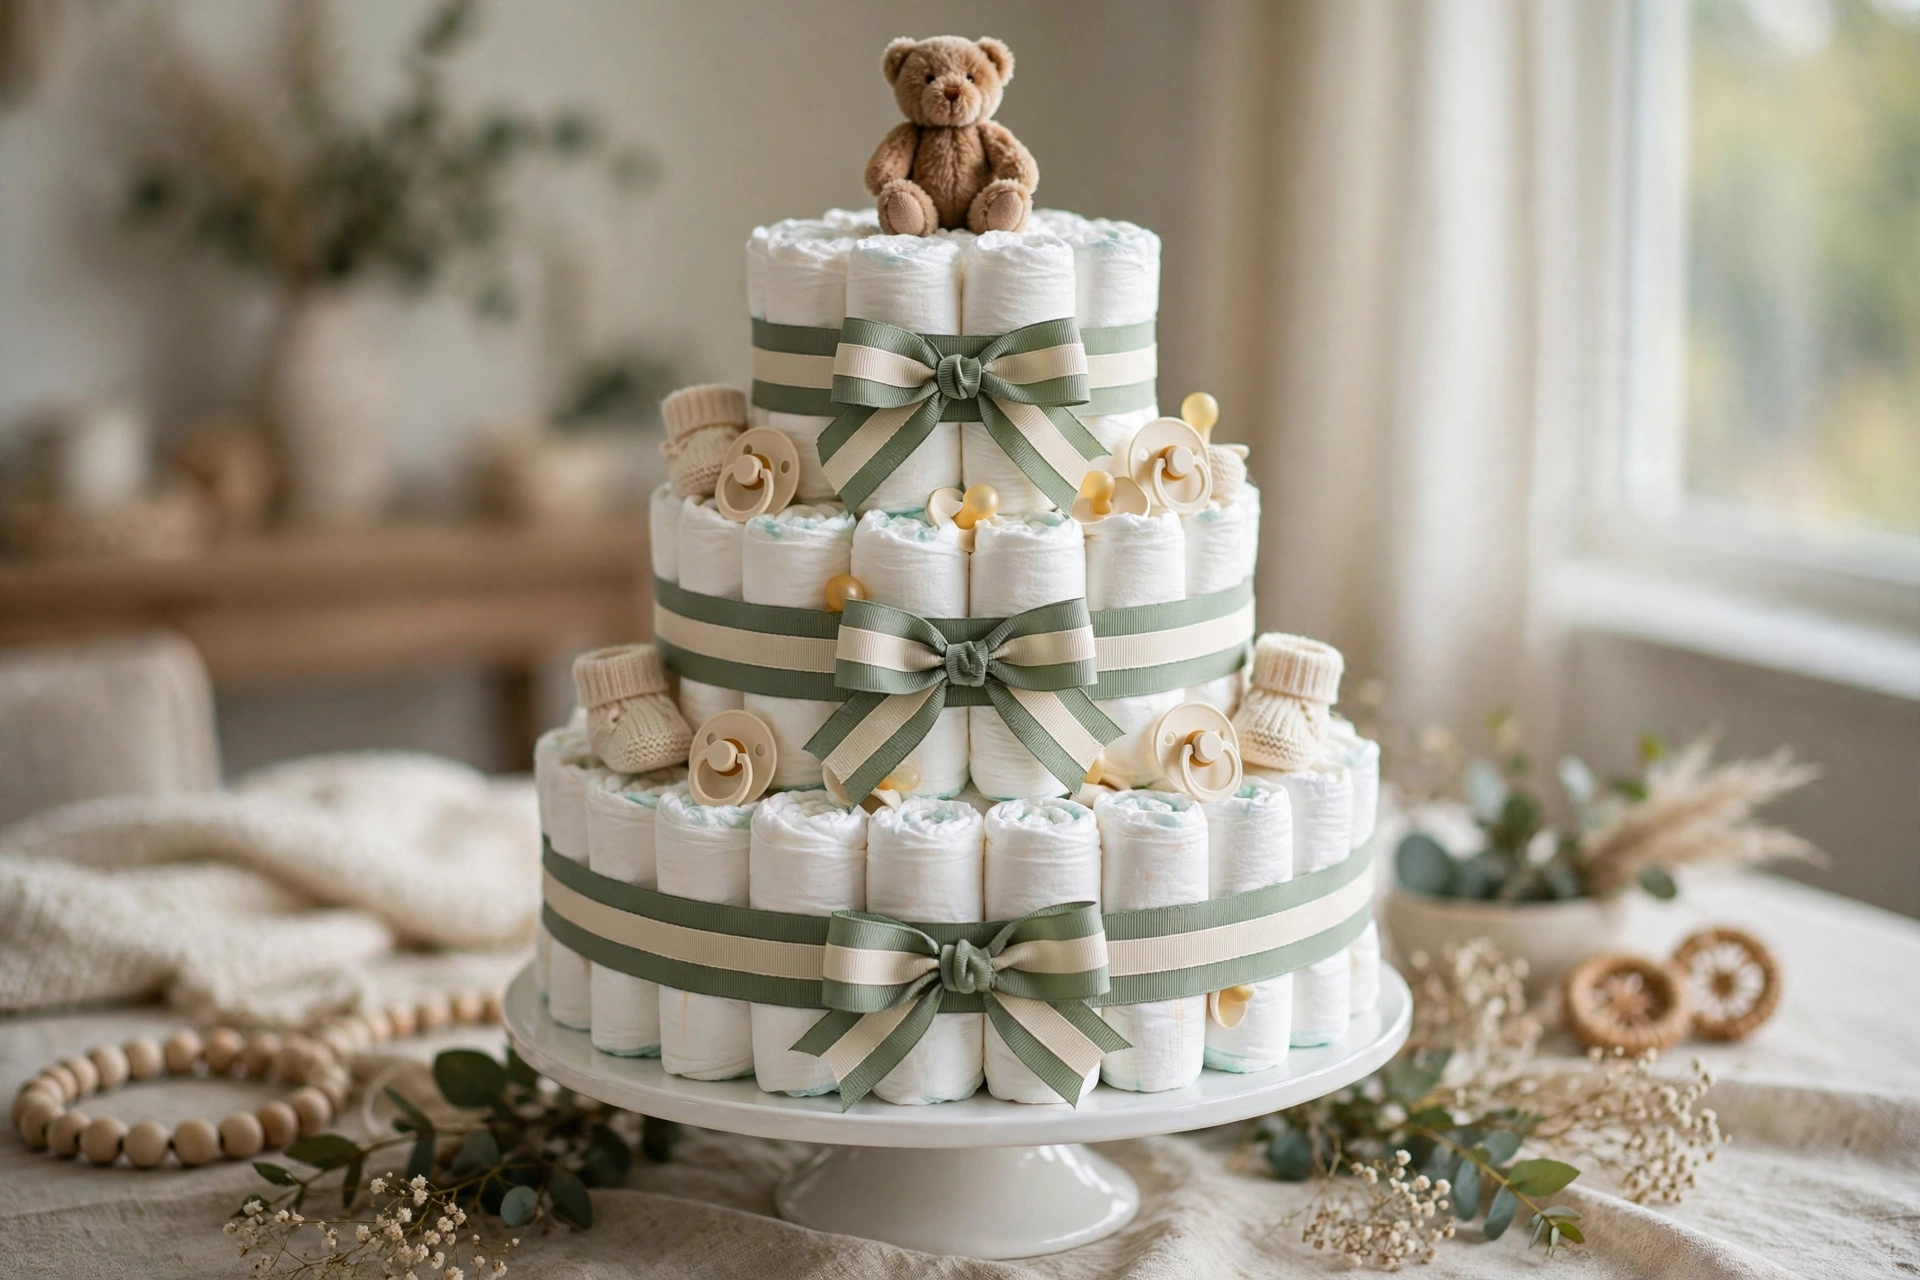
Learning how to make a diaper cake is easier than it looks — you need a box of diapers, a bag of rubber bands and about 45 minutes. But here is what most tutorials never mention: half of them hot-glue decorations straight onto the diapers, which means the mom-to-be can’t actually use a single one. A diaper cake is supposed to be a gift, not a prop.
This guide builds it the no-waste way. Nothing touches the diapers except rubber bands, every decoration pins to the ribbon, and when the shower is over, all 50–65 diapers go straight into the changing-table drawer. You’ll get the exact tier math, real costs and the fixes for every way a cake goes wrong.
TL;DR
A diaper cake takes 50–65 size-2 diapers, rolled tight and held with rubber bands — never glue. Build three tiers around a wooden dowel on a cardboard cake round, wrap each tier in wide ribbon to hide the bands, and pin decorations to the ribbon only. Total time: 30–60 minutes. Total cost: $25–$35.
Diaper Cake Basics: What It Is and Why Hosts Keep Making It
A diaper cake is a tiered “cake” built entirely from rolled disposable diapers and small baby items, decorated to match the shower theme. It sits on the gift table as the centerpiece, then gets taken apart so the parents can use every diaper.
Hosts keep making them because it’s the rare decoration that is a genuinely useful gift: two weeks of diapers plus the booties, washcloths and toys tucked into it. The catch: it only stays useful if you build it right — which is what the no-waste rules in this guide protect.
What Size Diapers Should You Use for a Diaper Cake?
Use size 2 diapers — not newborn, not size 1. This is the most common first-timer mistake, and experienced hosts are blunt about it: new parents get flooded with newborn and size 1 diapers, and babies outgrow both within weeks.
Size 2s are what the parents will actually be buying when the cake gets dismantled a month or two later, so none of your work goes to waste. One 60–70 count box covers a full three-tier cake, with spares for filling gaps.
How Many Diapers Do You Need for a Diaper Cake?
You need 50–65 diapers for a standard three-tier cake. Tiers are built in rings: the first ring around the center takes about 6 rolled diapers, and each ring outside it adds roughly 6 more — 6, then 12, then 18. Know that formula and you can scale any cake up or down.
|
Cake size |
Bottom tier |
Middle tier |
Top tier |
Total diapers |
Approx. diameter |
|---|---|---|---|---|---|
|
Mini (centerpiece) |
16–20 |
8–10 |
— |
25–35 |
8 in |
|
Standard (3-tier gift) |
30–36 |
16–20 |
7–10 |
50–65 |
12–14 in |
|
Grand (showpiece) |
45–52 |
24–28 |
12–14 |
80–90 |
16–18 in |
Advice from hosts who have built dozens: a straight small cake beats a leaning big one. First build? Make the standard size and pack it tight.
What Do You Need to Make a Diaper Cake?
Everything here is cheap, and you may own half of it already. Quantities are for the standard three-tier cake.
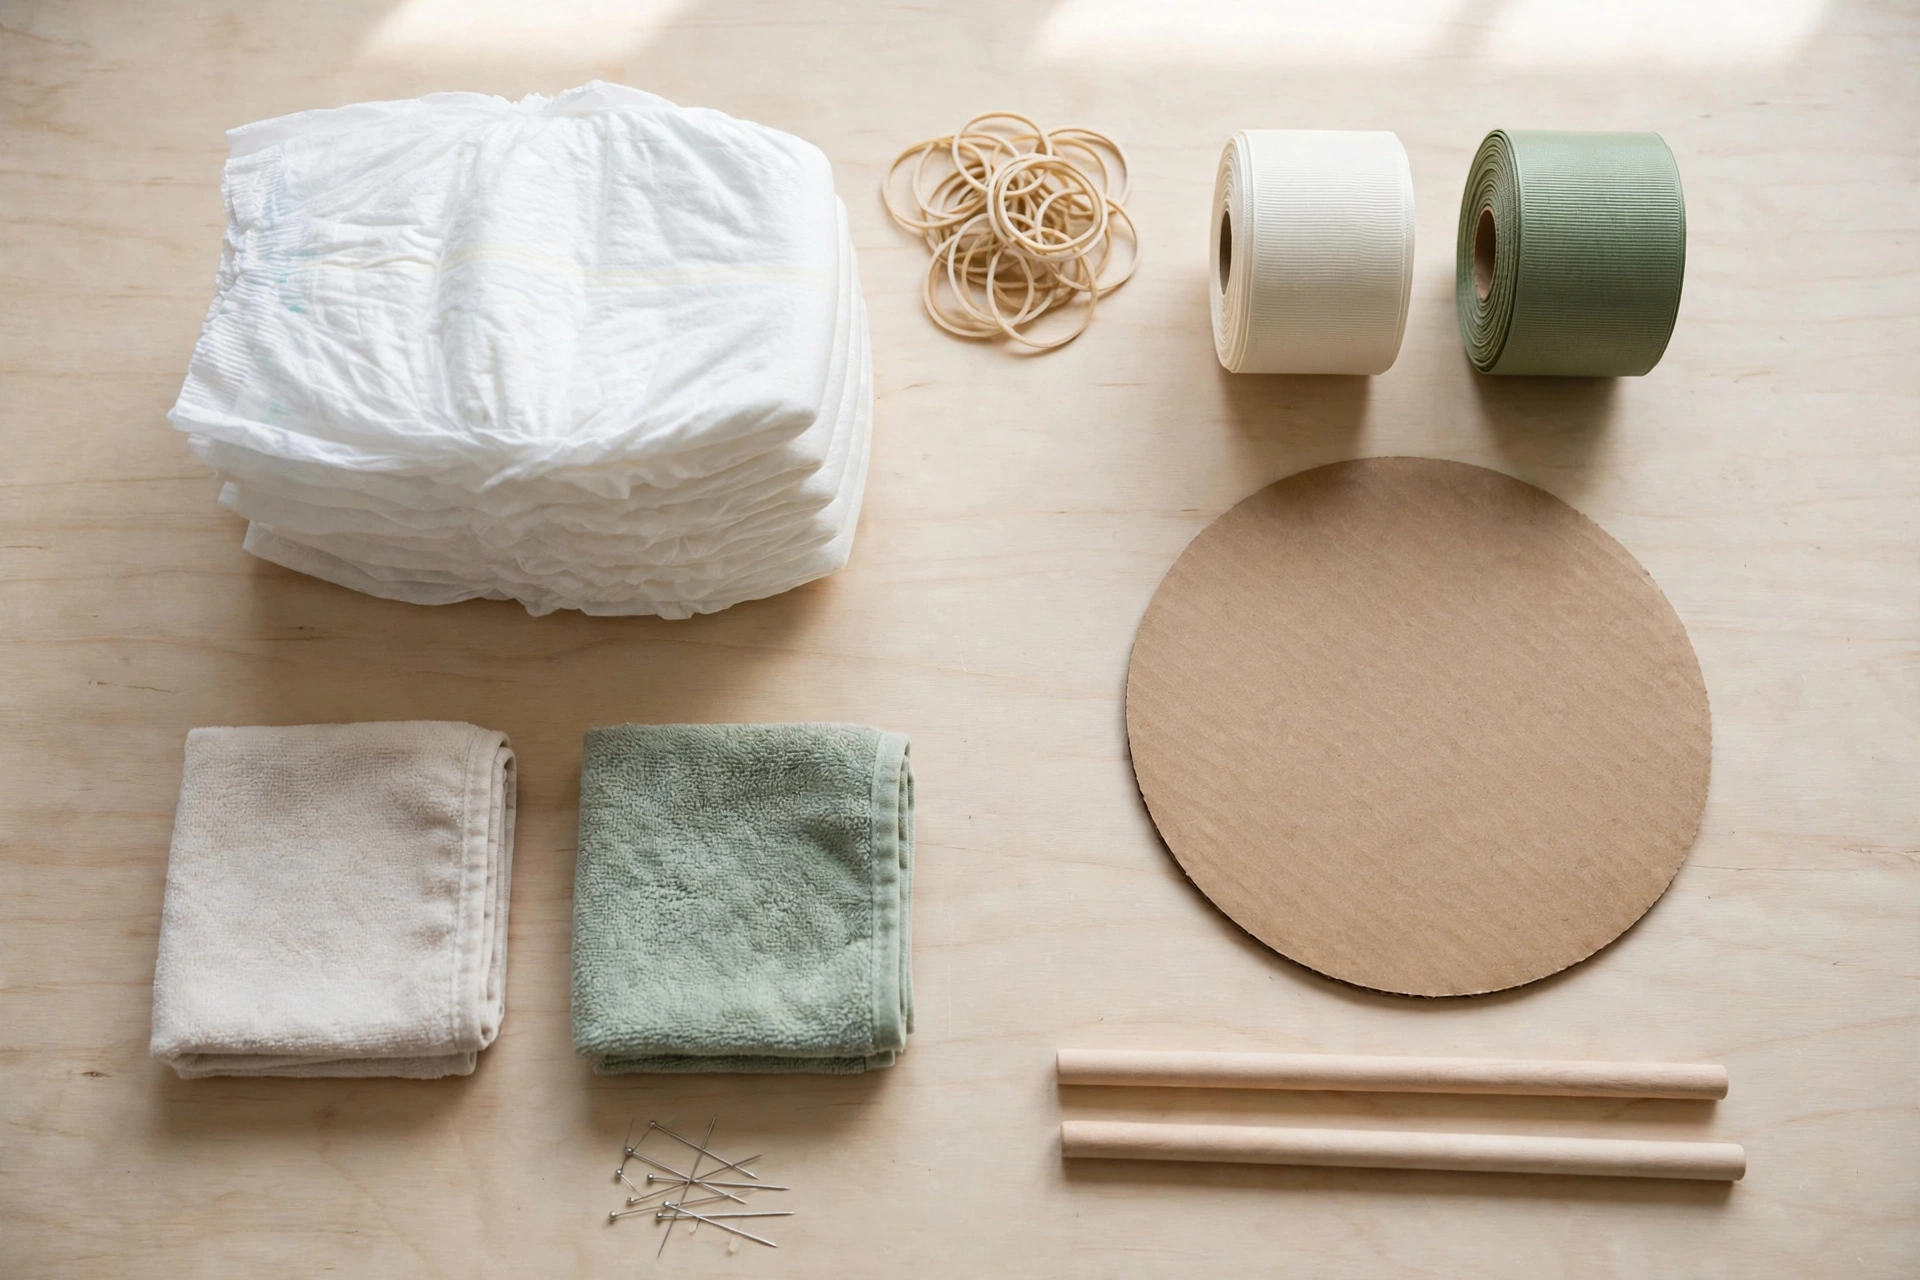
- Size-2 diapers, 60–70 count box — $18–$25. Buy a box, not a small pack, so you have spares.
- Rubber bands, multi-size bag — $3–$5. Small bands hold individual rolls; the largest cinch whole rings.
- Wide grosgrain ribbon, 2 spools (1.5–2.5 in wide) — $4–$8. Hides the bands and carries your theme color.
- Cardboard cake round, 12–14 in (or a cake platter) — $3–$6. The rigid base the cake is built and carried on.
- Wooden dowel or an empty paper-towel roll — $2–$4. The center spine that keeps tiers aligned.
- Straight pins — about $2. For pinning decorations to the ribbon only — never through a diaper.
- Decorations that double as gifts — $8–$15: onesies, socks, washcloths, a small plush, pacifiers or bath toys.
Core build cost: $25–$35 with dollar-store ribbon and bands. Decorations are optional — ribbon alone looks finished.
How to Make a Diaper Cake, Step by Step
Roll, ring, stack, wrap, decorate — that’s the whole method, in 30–60 minutes. Wash your hands and work on a clean table; these diapers are going on a newborn. Keep every roll facing the same direction or the tiers will look patchy.
Step 1: Roll Every Diaper Tight and Band It
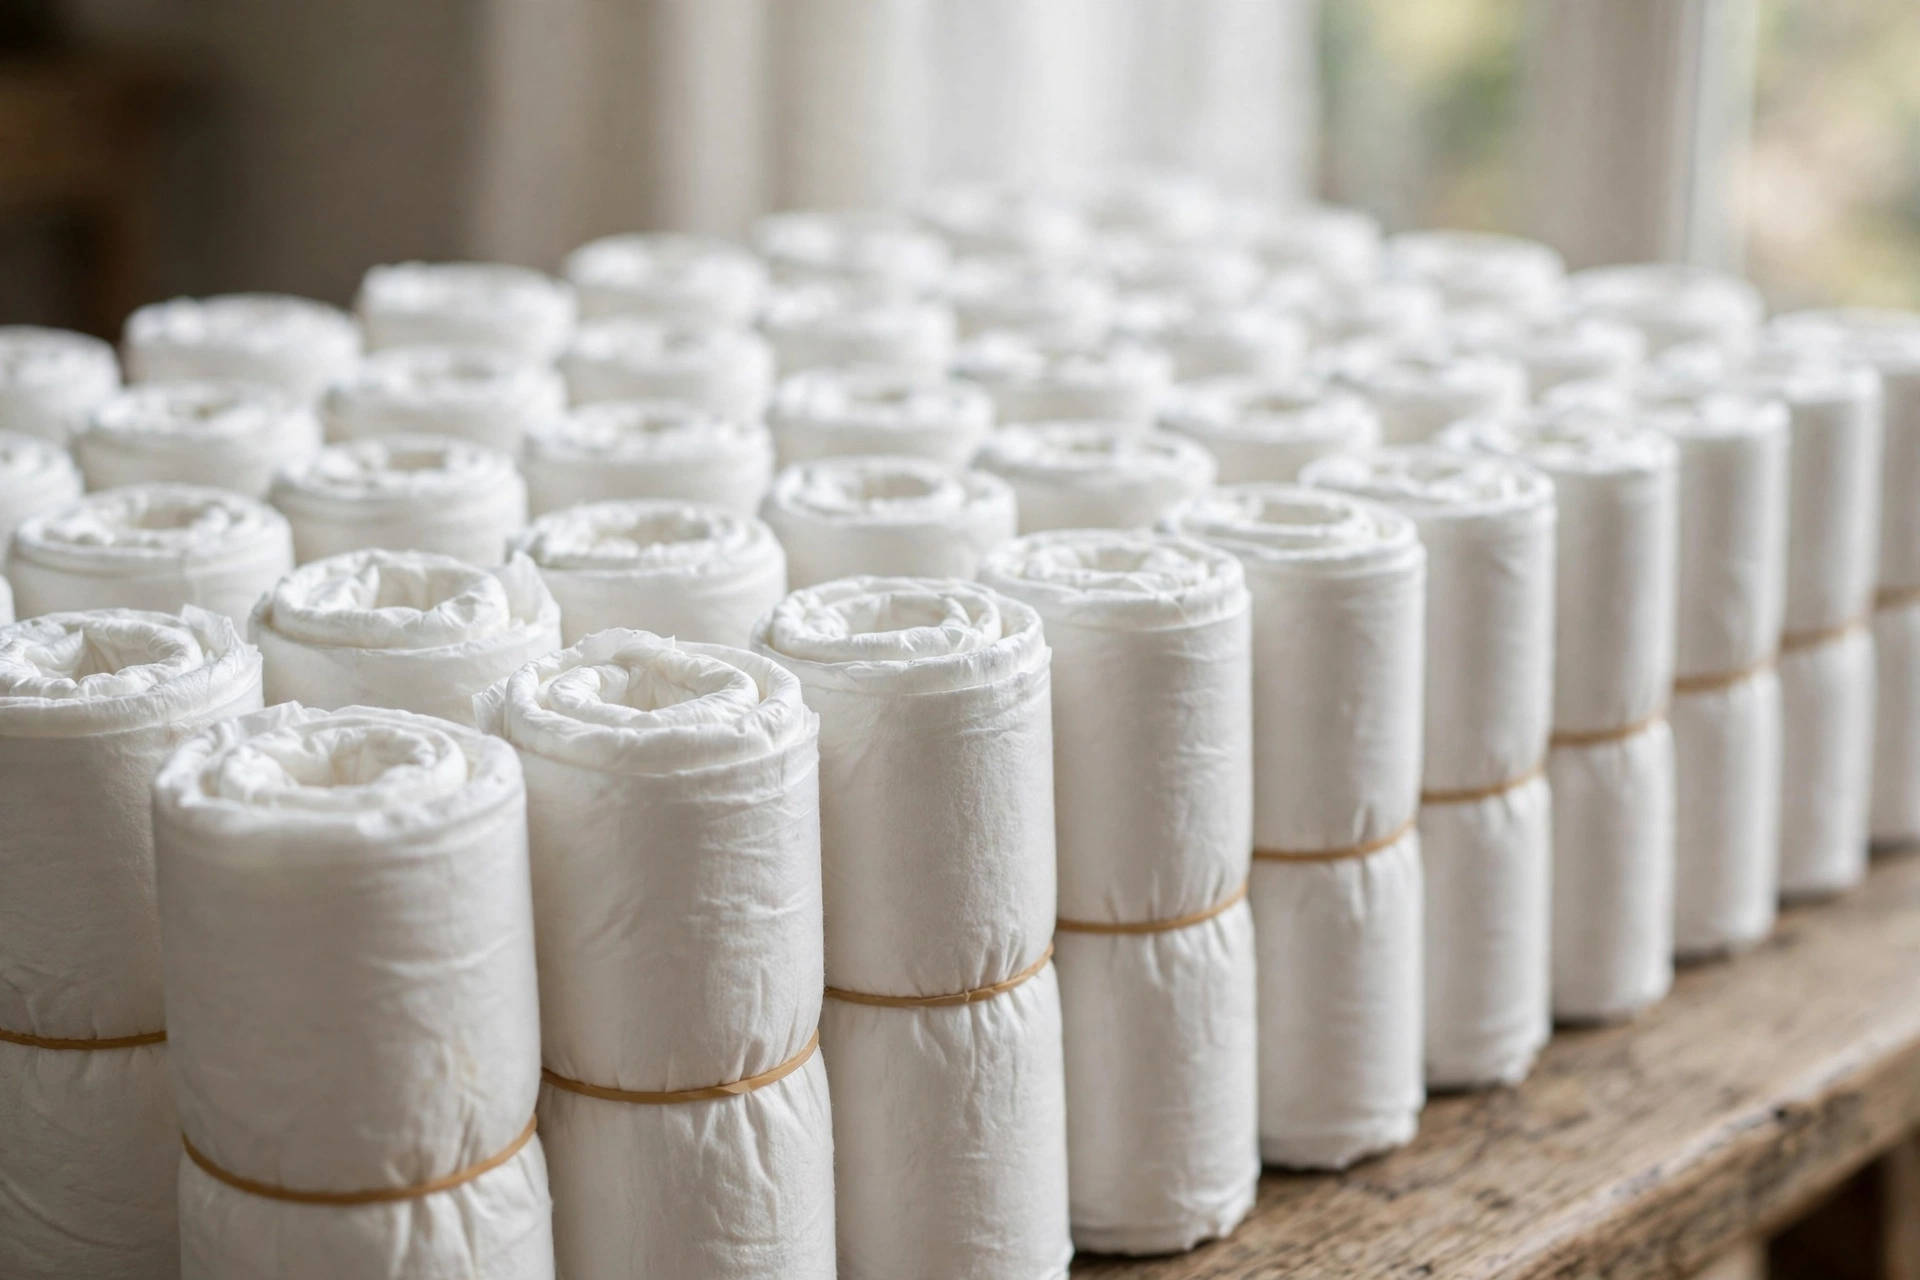
Roll each diaper from the bottom up into a tight tube and secure it with a rubber band around the middle. Start at the crotch end and roll toward the waistband. Roll all 50–65 diapers first; assembly goes fast once the rolls are done.
Step 2: Build the Bottom Tier in Three Rings
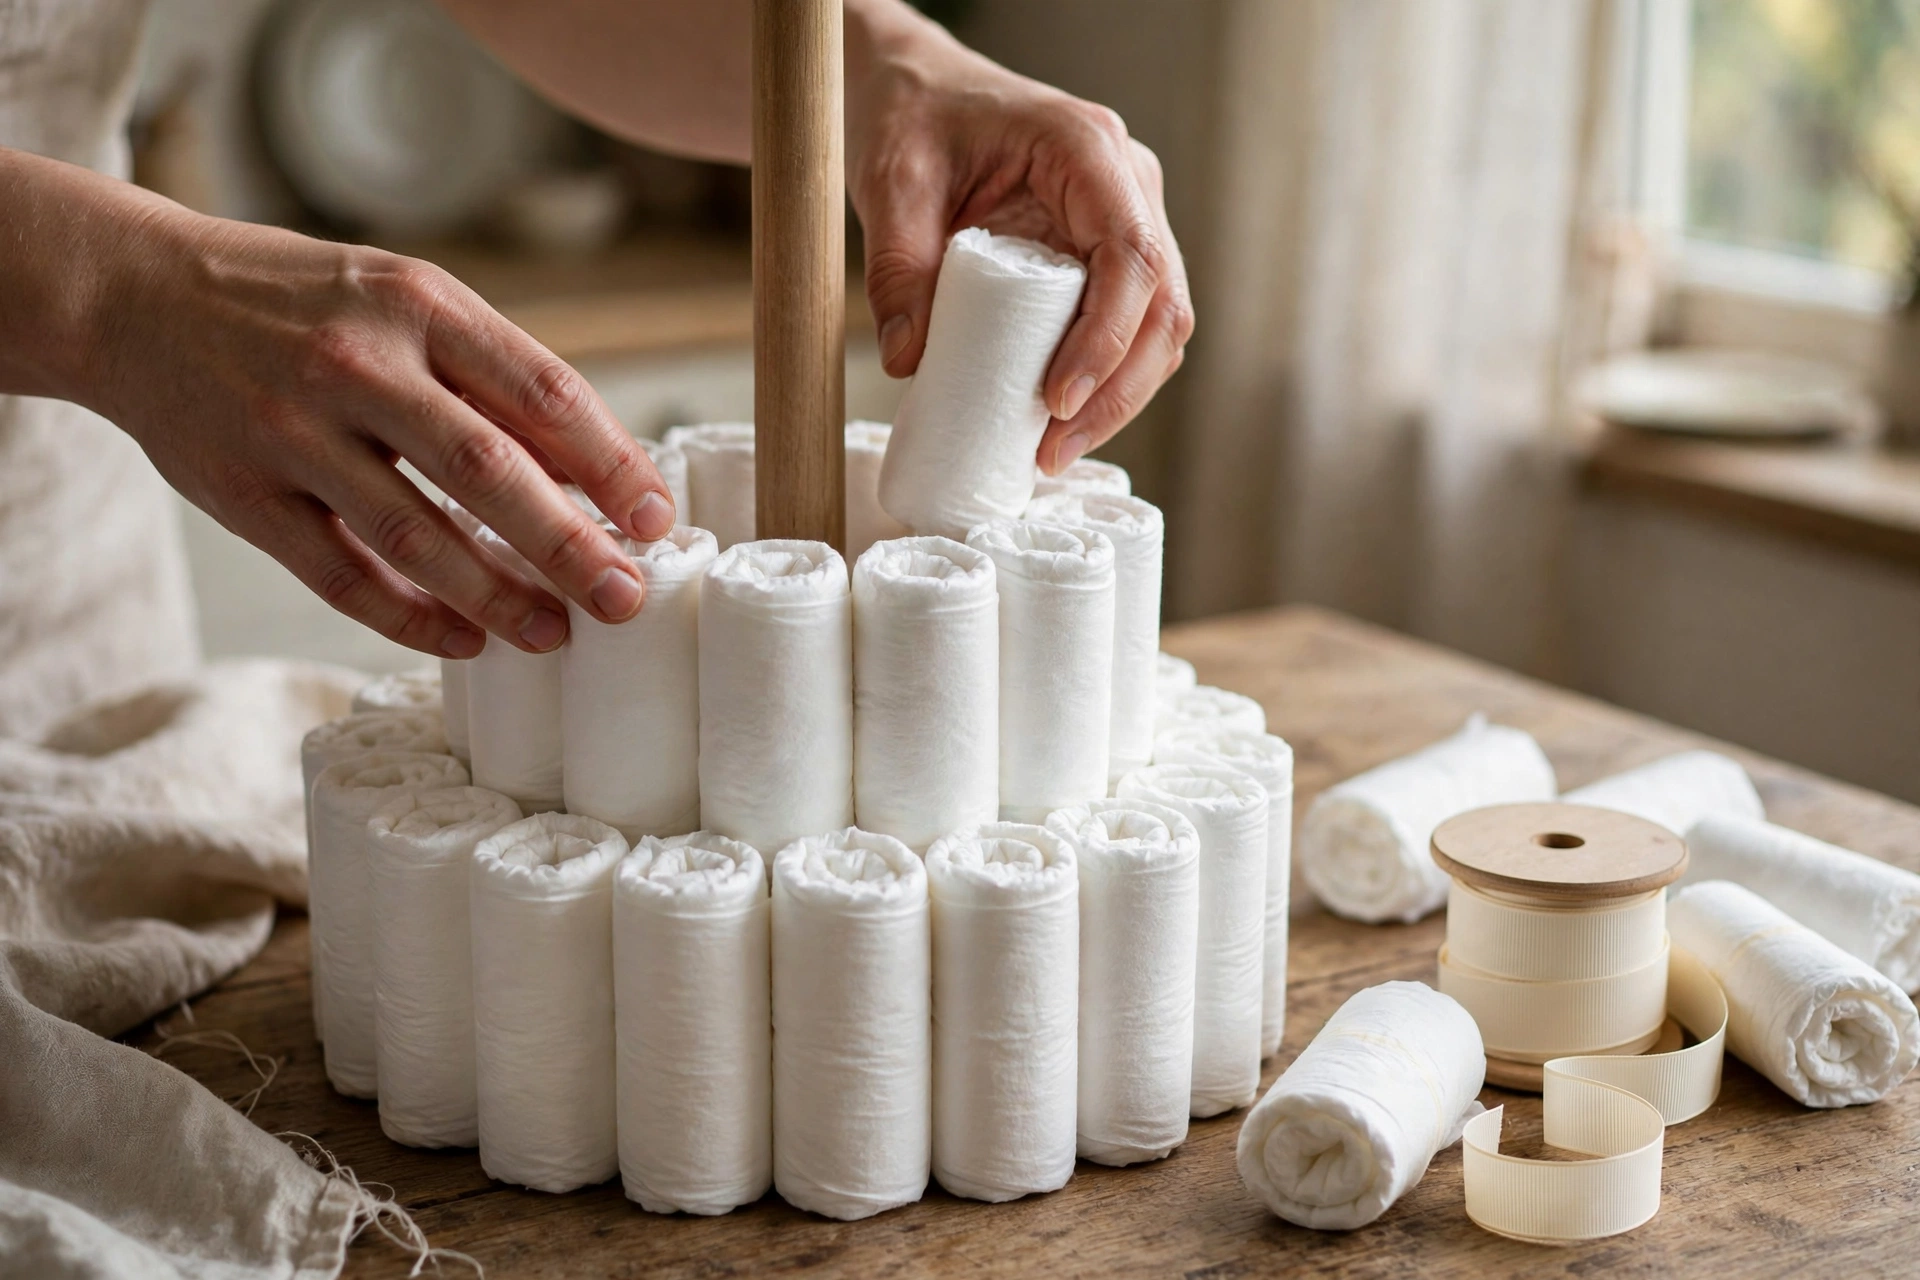
Stand the rolls upright in rings around your center post: 6 in the first ring, 12 in the second, 18 in the third. Set the dowel or paper-towel roll in the middle of the cake round, pack the first ring snugly around it, and cinch it with a large rubber band. Add each outer ring the same way. Tight packing here decides whether the finished cake stands straight.
Step 3: Build the Middle and Top Tiers
Build the middle tier with two rings (about 16–20 diapers) and the top tier with one ring (7–10 diapers), each on its own, then stack them largest to smallest. Building tiers separately is far easier than building upward in place. Center each tier and press down gently so the rolls settle.
Step 4: Slide the Dowel Through the Center
Push a wooden dowel down through the center of all three tiers and trim it flush with the top. Most tutorials skip this step, and it’s the difference between a cake that survives the car ride and one that shears apart at the first turn. Built around a paper-towel roll? The dowel slides inside it.
Step 5: Wrap Each Tier in Ribbon to Hide the Bands
Cut a length of wide ribbon for each tier, wrap it around the outside over the rubber bands, and pin or glue the ribbon ends to each other — never to a diaper. Sit the ribbon at the middle height of each tier, where the cinch bands are, and overlap the ends at the back of the cake.
Step 6: Decorate — Pinned to the Ribbon, Never Glued
Tuck small gifts between the diapers and pin decorations to the ribbon only. Onesies and washcloths can be rolled and swapped in for a few diaper rolls; booties, pacifiers and bath toys tuck into the gaps. Finish with a topper: a small plush, or a printed design taped to two decorative straws and pushed into the top tier like cake picks.
PRO TIP
Build It Where It Will Sit. Assemble the cake directly on the platter or cake round you’ll display it on, and move it as little as possible. Almost every leaning diaper cake was straight on the table and crooked after being carried across the room. If you must move it, slide one hand fully under the base and carry it like a real cake — structurally, it is one.
How Do You Make a Diaper Cake Without Rolling?
Use the cake-pan method: stand unrolled diapers upright in a round cake pan, fanned in a tight spiral, wrap ribbon around the outside, tie it off and flip the tier out of the pan. Repeat in smaller pans for the upper tiers.
It’s noticeably faster — a small cake in about 15 minutes — and the better route if rolling 60 diapers sounds miserable. The tradeoff is looks: pan tiers have softer edges, and the diapers come out slightly creased (still perfectly usable).
Can the Mom Actually Use the Diapers Afterward?
Yes — if you followed the no-waste rules, every diaper is fully usable. That’s the point of this method: rubber bands leave no residue, decorations pin to ribbon instead of diaper material, and no glue or tape ever touches a diaper.
Two hygiene habits keep it that way. Wash your hands before you start rolling, and build on a clean surface. And when you pin decorations, push pins through the ribbon and catch just the edge of a decoration — a pin should never pierce a diaper the baby will wear.
How Do You Keep a Diaper Cake From Leaning or Falling Apart?
Packing is the number one fix: a leaning cake is almost always an under-packed cake. Rolls should be tight, rings cinched before you stack, and no gap should fit a wiggling finger — fill gaps with a spare roll or a rolled washcloth.
Three more fixes are structural: run the dowel through the center so tiers can’t shear sideways, build on a rigid cake round rather than a flexible plate, and keep every roll facing the same direction — mixed directions create uneven pressure that pushes a tier off-center.
How Much Does a Diaper Cake Cost to Make?
A DIY diaper cake costs $25–$35 all-in: $18–$25 for the box of size-2 diapers and $7–$10 for ribbon, rubber bands and a cake round. Decorations you tuck in are gifts you’d likely buy anyway, so they barely count.
A ready-made diaper cake runs $60–$120 from gift shops and online sellers — same diapers, usually less decoration. Making it yourself costs about a third of that, in the right diaper size.
How Far in Advance Can You Make a Diaper Cake?
You can make a diaper cake two to three weeks before the shower. Diapers don’t expire sitting in a cake; they just need to stay clean and dry.
Store it covered — a large clear gift bag keeps dust off — in a cool, dry room away from direct sunlight, which fades ribbon fast. Skip garages and basements in humid weather.
How Do You Transport a Diaper Cake?
Put the cake, still on its round, into a box slightly larger than the base, with tissue paper or clean towels stuffed around the tiers so nothing shifts. The dowel does most of the work, but sideways movement topples top tiers. In the car, the box rides flat on a seat or trunk floor — never on a lap, never on top of other gifts.
Mini Diaper Cake Centerpiece (25 Diapers)
For a dessert-table centerpiece, shrink the build: one or two small tiers of 25–35 diapers, about 8 inches across. Same method — roll, ring, ribbon — just stop after the second tier and decorate lighter so it reads as decor, not a gift pile.
Minis are also the right scale if you’re making several for a big shower. Pair one with the table styling in our baby shower decorations guide, and a row of three down a long table looks like you hired someone.
Diaper Cake Ideas for Each Shower Theme
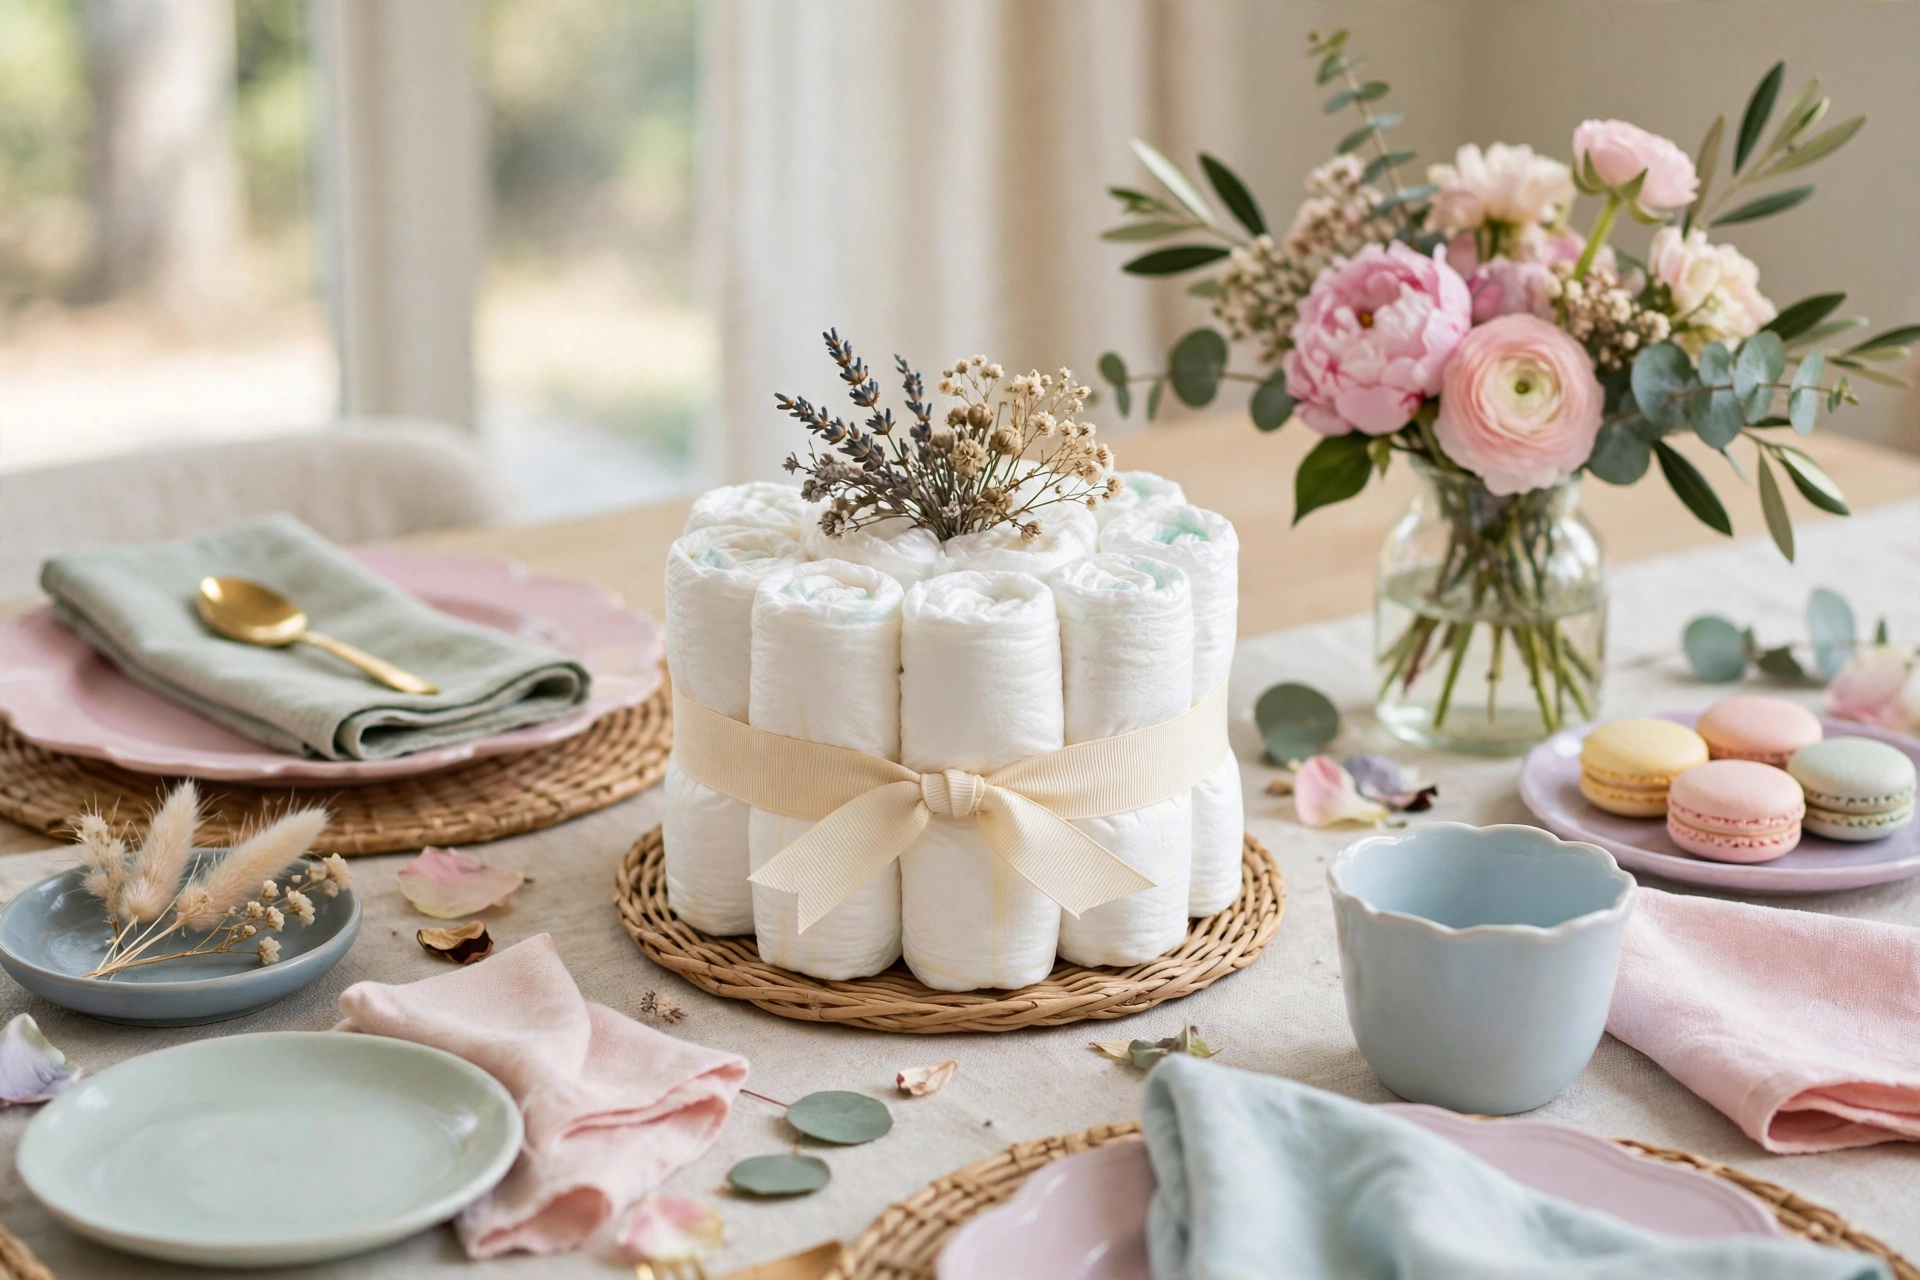
Match the ribbon and topper to the theme and the cake instantly looks custom. Three combinations that always work: “We Can Bearly Wait” — honey-brown and cream ribbon, teddy topper; woodland — sage ribbon, felt animals tucked between tiers; boho — warm ivory ribbon, a dried pampas sprig pinned to the top tier.
The rule is simple: the diapers never change, only the ribbon color and topper do. For palettes across 30 themes, borrow the color story from our baby shower themes guide.
Frequently Asked Questions
How many diapers do you need for a diaper cake?
A standard three-tier diaper cake needs 50–65 diapers: 30–36 in the bottom tier, 16–20 in the middle and 7–10 on top. A mini centerpiece needs 25–35; a grand showpiece runs 80–90.
What size diapers are best for a diaper cake?
Size 2. New parents receive plenty of newborn and size 1 diapers as gifts, and babies outgrow them within weeks. Size 2s are what parents will be buying when the cake is taken apart, so every diaper gets used.
Can the diapers from a diaper cake be used afterward?
Yes — as long as nothing was glued, taped or pinned through the diapers themselves. Build with rubber bands only, pin decorations to the ribbon, wash your hands before rolling, and every diaper is safe and usable.
How long does it take to make a diaper cake?
About 30–60 minutes for a first-timer, rolling included. Rolling is most of the work; assembly takes 10 minutes once rolls are ready. The no-roll cake-pan method cuts the total to roughly 15–20 minutes.
Can you make a diaper cake the night before the shower?
Yes — up to two or three weeks ahead works too. Store it covered, cool, dry and out of direct sunlight, then transport it flat in a box slightly larger than its base.
The Bottom Line
A great diaper cake is three habits: buy size 2 diapers, let rubber bands do all the holding, and pin every decoration to the ribbon so nothing ruins the gift. Build it on its display base, run a dowel through the middle, and you’ll have a centerpiece that looks store-bought for under $35 — and that the parents fully use afterward. For the rest of the table, start with our baby shower decorations guide, then match your ribbon to a palette from our baby shower themes roundup.