How to Flush a Water Heater: Sediment Flush in 45 Minutes
Your water heater has started making a low rumbling sound, like a distant kettle, every time it fires up. The showers still get hot, so it’s easy to ignore — but that noise is sediment. Every gallon of water carries dissolved minerals, and every time the tank heats, some of those minerals precipitate out and settle on the bottom. Year after year, that layer thickens into an insulating crust that forces the burner to overheat the steel beneath it. The result: less hot water, higher energy bills, and a tank aging years faster than it should. Learning how to flush a water heater is the single best defense — it’s a 45-minute job that reverses most of that damage.
A sediment flush is one of the highest-value maintenance jobs in your entire house: a garden hose, zero special skills, and manufacturers recommend it annually. Plumbers charge $150–$300 to do it, and skipping it is the single most common reason tanks die at year 8 instead of year 12. Here’s exactly how to do it safely — including the two situations where you should NOT flush, which most guides conveniently omit. The bottom line: knowing how to flush a water heater turns a $300 plumber visit into a 45-minute DIY job.
TL;DR
Turn off the power (breaker) or gas (pilot) to the heater first, then shut the cold-water supply valve. Let the water cool for an hour if you can. Attach a garden hose to the drain valve, run it somewhere safe, open a hot-water faucet in the house to let air in, and open the drain valve. Drain until the water runs clear, briefly pulse the cold supply on and off to stir up remaining sediment, then close everything, refill the tank completely, and restore power or relight the pilot. Do NOT flush a 10+ year-old tank that’s never been flushed — disturbing a decade of sediment can open leaks. Total time: about 45 minutes.
How to Flush a Water Heater in 45 Minutes: Before You Start
Honesty first, because this is where DIY guides get people in trouble. There are two situations where you should NOT flush.
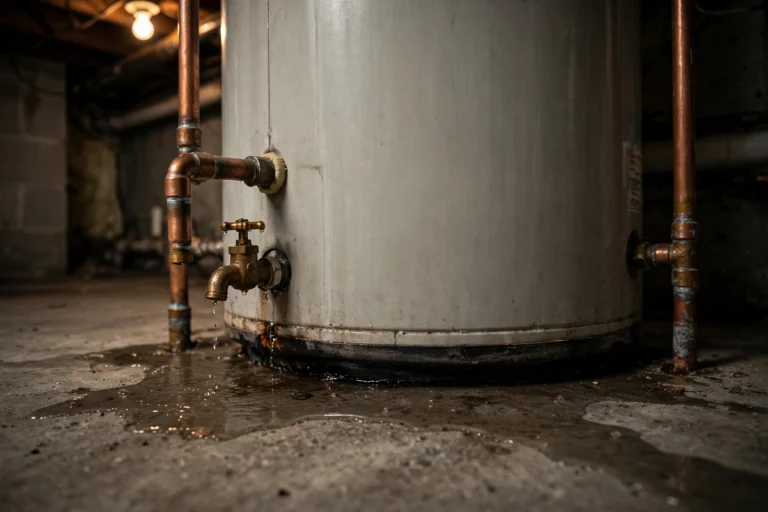
Don’t flush a very old, never-maintained tank. If your heater is 10+ years old and has never been flushed, the sediment may literally be plugging pinholes in the corroded tank bottom. Stirring it up can turn a slow decline into an active leak within days. If you’re in this situation, skip the flush and start planning a replacement instead — the tank is already at end of life, and a flush just hurries the inevitable. Check our 2026 replacement costs so you know what you’re budgeting for.
Don’t flush if the drain valve is already compromised. Old plastic drain valves get brittle. If the valve looks cracked, crusted solid with mineral buildup, or has been dripping, forcing it open can snap it off — and then you have an open 3/4-inch hole in a full tank of hot water. When in doubt, have a plumber replace the plastic valve with a full-port brass ball valve first (a $120–$250 job that pays for itself in every future flush).
If neither applies, you’re clear to proceed. Gather: a garden hose long enough to reach a drain or driveway, a bucket, work gloves, and a flathead screwdriver (some drain valves need one).
Step-by-Step: The 45-Minute Flush
Step 1 — Kill the heat (5 minutes). Electric: flip the dedicated double-pole breaker OFF. Gas: turn the control knob to “pilot.” This is non-negotiable — heating an empty or partially drained tank destroys electric elements in under a minute and can warp a gas tank. Tape a note on the breaker so nobody flips it back mid-job.
Step 2 — Shut the cold-water inlet (2 minutes). Turn the valve on the cold pipe entering the top of the tank clockwise until it stops. If there’s no dedicated valve, use the house main. This stops the tank from refilling while you drain.
Step 3 — Let it cool (30–60 minutes, passive). Draining 140°F water through a garden hose onto your driveway is a scalding and hose-melting hazard. If you have the time, wait an hour after shutdown. If you’re impatient, at least run a hot tap for a few minutes to pull the temperature down — and wear gloves.
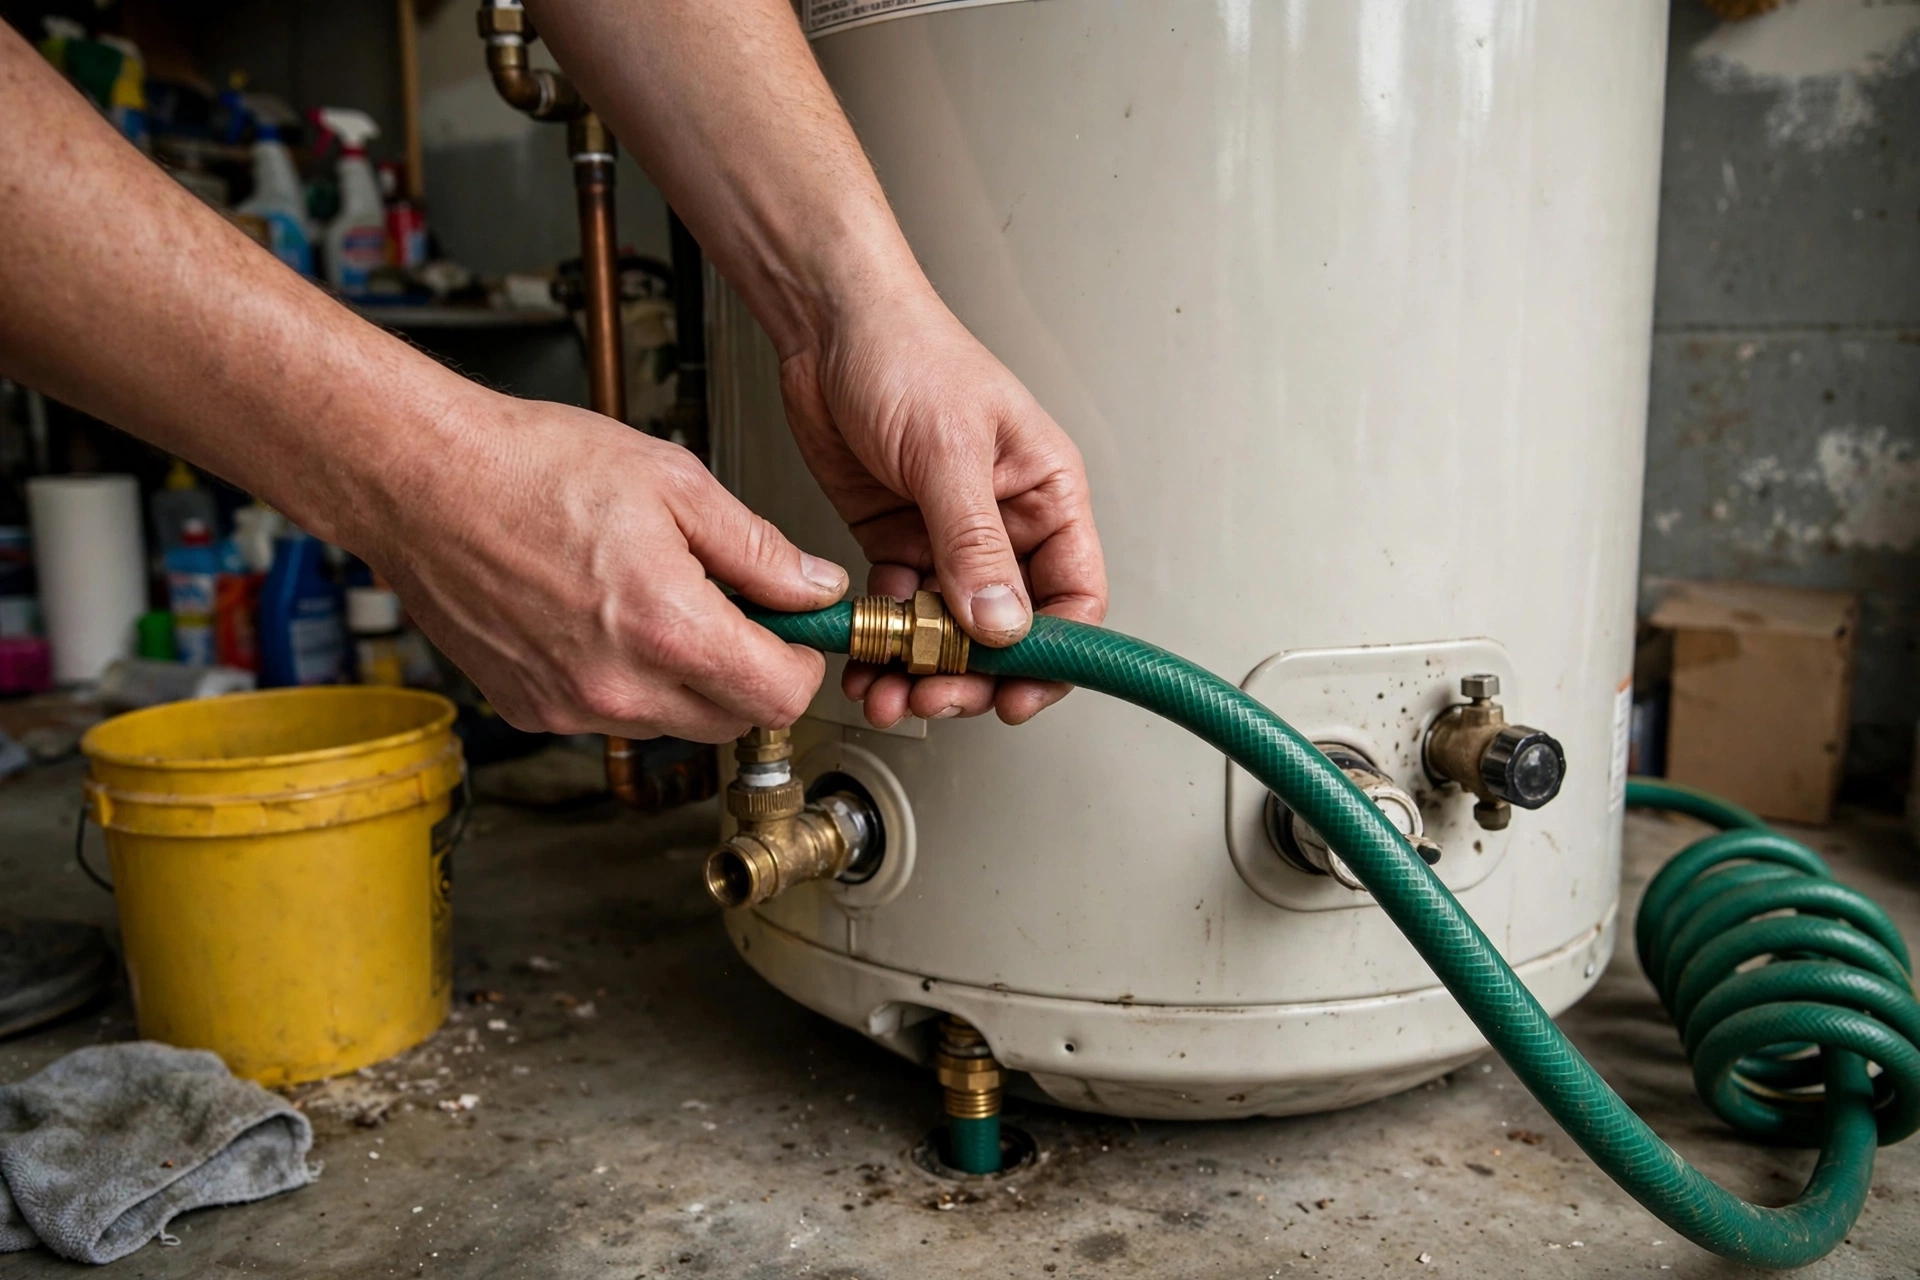
Step 4 — Hook up the hose and open a vent (5 minutes). Thread the garden hose onto the drain valve (near the tank’s base) and run the other end to a floor drain, sump pit, or outside — somewhere the hot, possibly rusty water can’t hurt plants or stain concrete you care about. Then open the nearest hot-water faucet in the house. This breaks the vacuum so the tank can actually drain; without it, water just glugs and stalls.
Step 5 — Open the drain valve (10–20 minutes of draining). Open it slowly — a quarter turn, pause, then full. The first water out is often discolored or full of gritty sediment; that’s exactly what you’re removing. Let it run until it flows clear. For a badly neglected tank this can take 20+ minutes; for an annually maintained one, under 10.
Step 6 — The cold-water pulse (5 minutes). With the drain valve still open, briefly turn the cold supply back on for 10–15 seconds, then off again. The incoming blast stirs up sediment clinging to the bottom. Repeat 2–3 times until the discharge runs clear even during the pulse. This is the step that separates a real flush from a token drain.
Step 7 — Close up and refill (10 minutes). Close the drain valve firmly (don’t overtighten plastic), disconnect the hose, close the hot faucet you opened, then turn the cold supply fully back on. You’ll hear the tank filling. Leave a hot tap cracked open until water flows in a steady stream with no sputtering — that tells you the tank is full and the air is purged. Only then restore power or turn the gas from pilot back to on.
Step 8 — Verify (5 minutes). Check the drain valve and all fittings for drips. Confirm hot water returns within 30–60 minutes. Listen: the rumbling should be noticeably quieter.
PRO TIP
Do this every 12 months, ideally in the fall before heating season ramps up. Put it on the same day you check smoke-detector batteries — pairing it with an existing habit is the only reason anyone actually remembers. In very hard-water areas (you see scale on faucets), flush every 6 months instead.
What Comes Out Tells You About Your Tank
Pay attention to the discharge — it’s a diagnostic:
| What you see | What it means | Action |
|---|---|---|
| Clear water after a minute | Light sediment; tank is healthy | Keep the annual schedule |
| Rusty-brown water that clears | Moderate sediment + some corrosion | Annual flushes; check anode rod this year |
| Gritty sand-like particles | Heavy mineral sediment | Flush every 6 months; consider a water softener |
| Chunky flakes or “popcorn” bits | Calcified scale breaking loose | Flush thoroughly; inspect anode; plan replacement timeline |
| Water never runs clear after 30+ min | Extreme neglect or dip-tube failure | Finish the flush, then have a plumber assess |
Upgrades Worth Doing While You’re Down There
A flush is also the perfect moment for two cheap improvements. First, if your drain valve is the original cheap plastic gate valve, replace it with a full-port brass ball valve ($15 part). Brass ball valves drain dramatically faster, don’t clog with sediment chunks, and won’t snap off in your hand in five years. Second, check the anode rod — if your tank is 4+ years old and you’ve never looked at it, unscrew it and inspect. If it’s down to a thin wire or coated in calcium, a $30–$60 replacement restarts the corrosion-protection clock. Both jobs take minutes with the tank already drained.
PRO TIP
Take a phone photo of the rating plate (brand, model, serial, capacity) while you’re down there. You’ll need it for parts, warranty claims, and the day you call for replacement quotes — and it’s much easier to photograph now than to crawl back later.
Tankless Owners: Different Machine, Different Maintenance
If you have a tankless unit, none of the above applies — there’s no tank to drain. Tankless heaters need descaling: circulating white vinegar or a descaling solution through the heat exchanger with a small pump for 45–60 minutes, typically once a year (twice in hard-water areas). Most manufacturers sell or specify a flush kit ($100–$150), and skipping descaling is the #1 killer of tankless units — scale chokes the heat exchanger until error codes and cold showers arrive. A pro descaling service runs $150–$300.
Frequently Asked Questions
How often should I flush my water heater? Once a year for most households; every 6 months if you have hard water (visible scale on fixtures, spots on dishes). Tankless units need descaling on the same schedule. Once you learn how to flush a water heater, sticking to that schedule is easy.
Can I flush a water heater myself, or do I need a plumber?
It’s firmly DIY-able — no permit, no special tools, no code issues. The only real risks are scalding (let it cool) and a brittle old drain valve (inspect first). A pro charges $150–$300 for the same 45 minutes.
What happens if I never flush my water heater?
Sediment accumulates, efficiency drops 25–30%, the tank bottom overheats, rumbling starts, and the tank typically fails years early — often via a bottom leak. It’s the most common cause of premature tank death.
The drain valve won’t open / broke off. Now what?
Stop. If it’s stuck, don’t force it — call a plumber to replace the valve ($120–$250). If it snapped off, shut the cold supply immediately and call a plumber now; you have an open hole in a pressurized tank.
Should I turn the water heater off while on vacation?
For trips over 3–4 days, turning a tank to “vacation” mode (or pilot for gas) saves energy with zero risk. Don’t shut it fully off in winter where pipes could freeze — the tank’s ambient heat helps.
Does flushing fix a tank that’s already leaking?
No. Flushing is preventive maintenance, not a repair. If the tank itself is leaking — especially from the bottom — it needs replacement, not a flush. See our guide to bottom leaks for the full diagnosis.
Key Takeaways
- Flush annually (every 6 months in hard-water areas) — it’s the single best thing you can do for tank lifespan. If you’re new to it, learning how to flush a water heater takes one careful read of the steps above.
- Always kill power/gas BEFORE draining; dry-firing destroys elements and damages tanks.
- Open a hot faucet to vent the tank, or it won’t drain.
- The cold-water pulse step is what actually clears stubborn sediment — don’t skip it.
- Never flush a 10+ year-old tank that’s never been flushed; you may open leaks. Plan replacement instead (2026 costs here).
- Upgrade the plastic drain valve to brass while you’re at it — $15 and every future flush gets easier.
- Tankless units need descaling, not draining — same schedule, different procedure. The Department of Energy’s official guide covers the full maintenance checklist.