Babyproofing Checklist: Room by Room (The At-Home Guide)
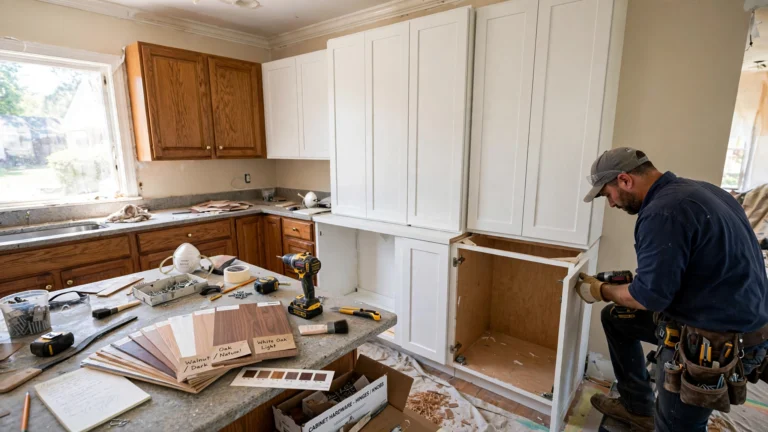
If you are looking for a babyproofing checklist that actually tells you what to do first, you are in the right place — because most checklists hand you an alphabetical room list where outlet covers look just as urgent as anchoring a dresser, and they are not. I am Carlos Mendez, and after years of home-improvement work — including the anchoring, gate-mounting, and lock-fitting jobs that happen right before a baby comes home — I can tell you the order matters more than the list. This guide ranks the dangers, walks every room, and ends with the one system that keeps the house safe as your baby grows: the milestone re-check.
TL;DR
Start this babyproofing checklist at 4–5 months, before crawling. Anchor tall furniture into wall studs, fit a hardware-mounted gate at the top of the stairs, cover outlets, lock cabinets holding chemicals, medicines and knives, cut blind-cord loops, and set the water heater to 120°F. Then re-walk the whole house at every mobility milestone — rolling, crawling, standing, walking, climbing.
What Are the Most Dangerous Babyproofing Hazards?
The most dangerous babyproofing hazards are furniture and TV tip-overs, stair falls, water, button batteries and magnets, and blind cords — in that order. Everything else on this page matters, but if you only have one weekend, spend it on these five first, because they are the ones that send children to emergency departments.
Here is the honest ranking, and why it changes how you spend your weekend:
| Kill risks (do first) | What kills | The fix |
|---|---|---|
| Furniture/TV tip-over | crushing | anchor EVERYTHING tall into wall studs (drywall anchors alone aren’t enough — pro rule) |
| Stairs | falls | hardware-mounted gate at TOP; pressure-mounted ok at bottom/doorways only |
| Water (toilet, tub, pool) | drowning in seconds | toilet locks; never leave baby near water; pool barrier + self-latching gate |
| Button batteries + magnets | choking/chemical burn | remotes, key fobs, musical cards — tape battery compartments or move out of reach |
| Blind/curtain cords | strangulation | cut loops, cord wind-ups, or cordless blinds |
| Bruise risks (do second) | — | corner guards, outlet covers, cabinet locks, stove knob covers, rug pads |
The numbers behind the ranking are sobering. According to the US Consumer Product Safety Commission’s tip-over report, about 17,800 tip-over injuries are treated in US emergency departments each year (2020–2022 data), 44% of them to children — and about 48% of reported tip-over deaths involved a television. A TV on a dresser is not furniture; it is a crushing hazard with a screen on it. That is why this guide starts with anchors, not outlet covers.
How Do You Babyproof With the Crawler’s-Eye-View?
You babyproof with the crawler’s-eye-view by getting down on your hands and knees in every room and scanning at baby height, because the hazards that matter are invisible from standing height. From down there you will find the lamp cord under the couch, the remote on the coffee table edge, the dog’s water bowl, the phone charger dangling from the nightstand, and the blind cord pooling on the windowsill.
Do it room by room, with a notepad, and write down everything you can reach, pull, climb, or put in your mouth. Then fix in the danger order above — anchors and gates before corner guards. This is also the pass you repeat at every milestone (see the schedule below) — the house changes as the baby changes.
Babyproofing Checklist for the Living Room
The living room is where tip-overs live. Start with the anchors: every bookcase, dresser, TV stand and tall shelf gets anchored into a wall stud — not drywall, not a toggle bolt in plaster, a stud. A stud finder costs less than a pizza and turns a two-hour guessing game into a twenty-minute job. Televisions go on the wall or on a low, anchored stand, never on top of a dresser a child can climb.
Next, the smaller jobs in one pass: sliding outlet covers that close themselves (the plug-in caps are a choking hazard once a toddler can pry them out), corner guards on the coffee table and fireplace hearth, and a rug pad under every rug so it cannot slide under small feet. Fireplace screens alone are not enough — children pull them down, so a fixed hearth gate or barrier is the real fix if you have an open fireplace.
Two things people miss in this room: the plants and the remotes. Pothos, philodendron and dieffenbachia are all toxic if chewed, so they go up high or out of the house until the baby is past the mouthing stage. And remotes, key fobs and musical greeting cards all carry button batteries — tape their battery compartments shut or move them to a high shelf. A swallowed button battery can burn through tissue in hours, which is why it sits in the kill-risks table, not the bruise list.
Babyproofing Checklist for the Kitchen
The kitchen is the room with the most ways to get hurt, and the one where a simple system beats a pile of gadgets. The system: magnetic cabinet locks. They are invisible from outside, they need a magnetic key to open, and — the part parents love — a toddler cannot figure them out by watching you, because there is nothing visible to copy. Put them on every cabinet holding chemicals, medicines, knives, plastic bags and small appliances.
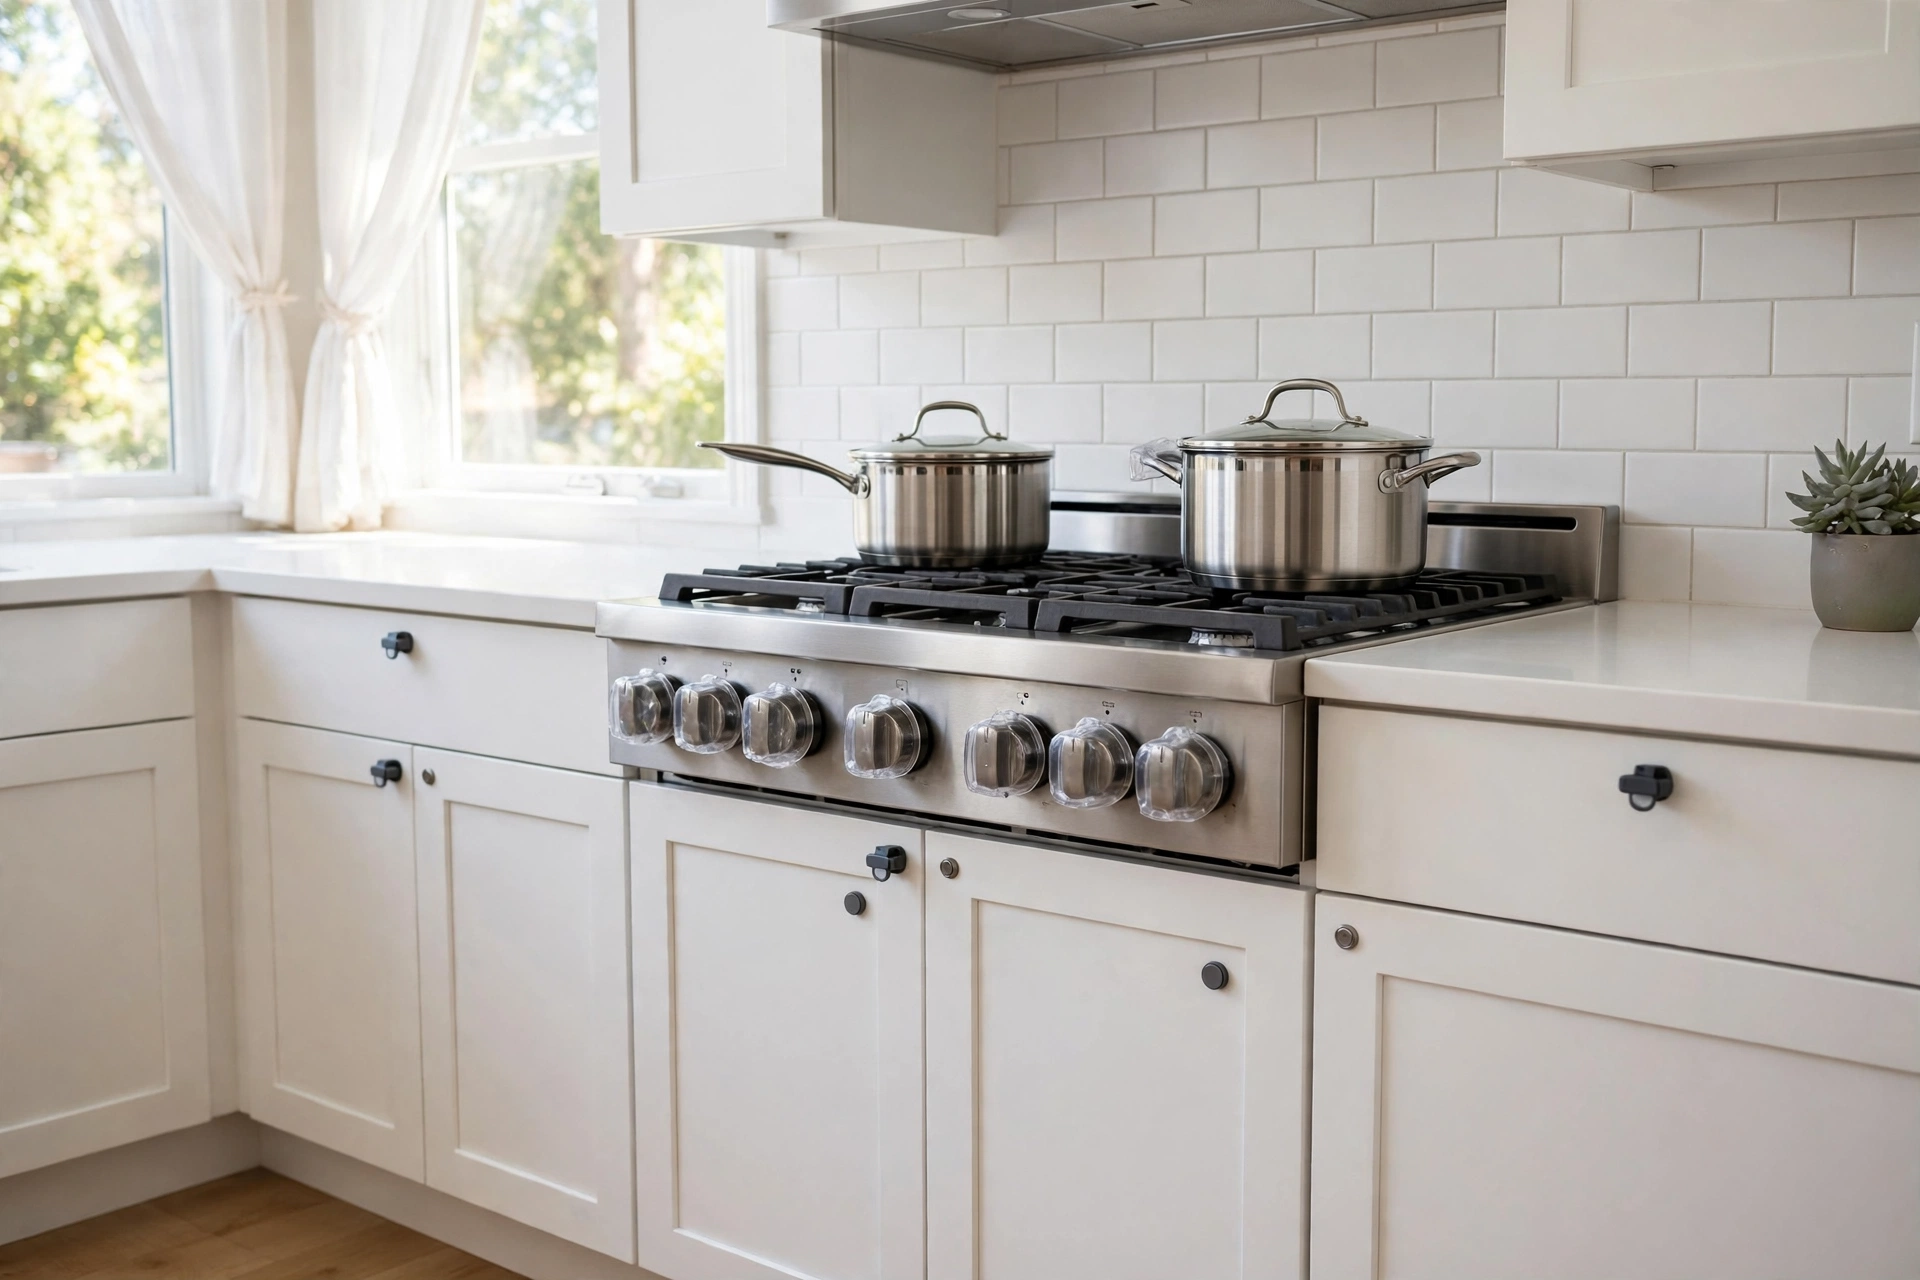
Then the stove rules, which are non-negotiable: cook on the back burners, turn every pot handle inward, and fit stove knob covers so a small hand cannot turn a burner on. Dishwasher and refrigerator locks go on the same pass — the dishwasher holds sharp knives and detergent pods, and the fridge holds both choking hazards and things a baby should not eat. Hot liquids stay away from table edges, and here is a rule most people have never heard: no tablecloths with heavy or hot things on them. A baby pulling a tablecloth pulls everything on it down, and that is a scald, not a mess.
One kitchen rule that makes life easier instead of harder: build one “yes” cabinet stocked with plastic bowls, wooden spoons and measuring cups, and let the baby open it freely. A child who has one cabinet that is theirs is far less motivated to defeat the locks on the others.
Babyproofing Checklist for the Bathroom
The bathroom has one rule above all others: never leave a baby alone near water, not for a phone call, not for a towel. A baby can drown in seconds in water shallow enough to sit in, and that includes the toilet. Fit a toilet lid lock — it is a two-minute install and it closes the one water hazard that sits open in every home, all day.
Medicines, razors, hair dryers and curling irons all go into a locked cabinet or a high shelf — never on the counter, never in a drawer a toddler can reach. A non-slip mat goes in the tub, because a wet, soapy baby is a falling baby, and bath time is exactly when you are most distracted. And set the water heater to 120°F: at 140°F, a baby’s skin scalds in seconds; at 120°F, you have minutes. water-heater 120°F post 12, Mike covers the full temperature check and the thermostat steps.
One more bathroom habit worth building now: keep the door closed. A closed bathroom door is the cheapest babyproofing device in the house, and it works even when every gadget fails. Add a door knob cover if your toddler learns to open it — they learn faster than you expect.

Babyproofing Checklist for the Nursery
The nursery rule is the simplest in the whole guide, and the one people break most often out of love: the crib holds a firm mattress, a tight fitted sheet, and nothing else. No drop-side cribs (banned and unsafe), no bumpers, no pillows, no blankets, no stuffed animals. Every one of those “cozy” additions is a suffocation or climbing risk, and the safest-looking nursery is the empty-looking one.
Dresser anchoring matters here as much as in the living room — a nursery dresser is a climbing frame with drawers that pull out like steps, so anchor it into studs before the baby can pull to stand. Monitor cords, blind cords and any cord near the crib must be routed far out of reach; cords are a strangulation hazard, and a baby who can stand can reach further than you think. nursery temp & air quality post 13, Priya covers the room’s temperature and air side of safe sleep.

Which Baby Gate Should I Use at the Top of the Stairs?
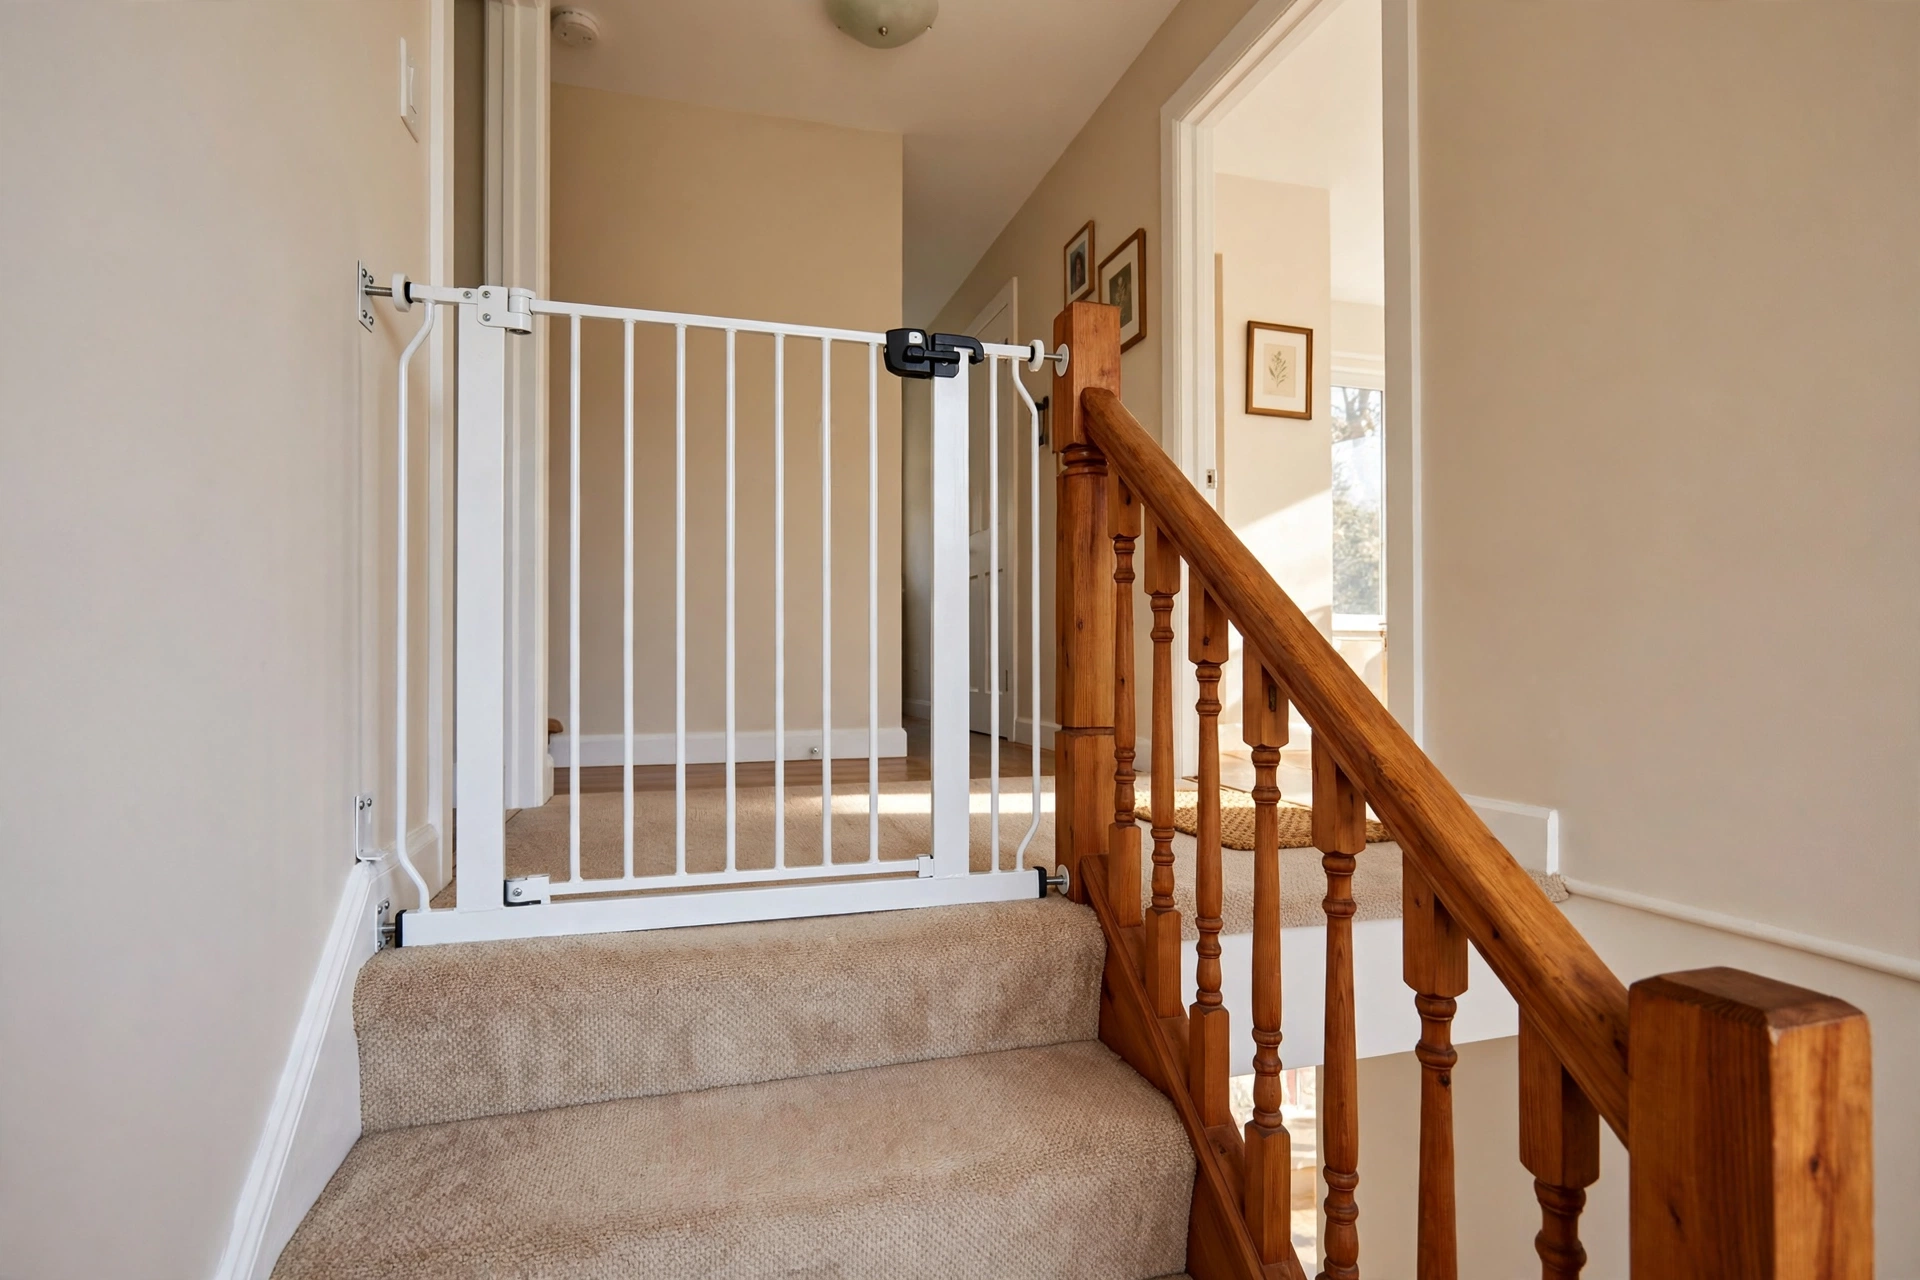
Use a hardware-mounted gate at the top of the stairs — this is the single most-cited rule by professional childproofers, and it is non-negotiable. A pressure-mounted gate at the top of the stairs will fail when a child pushes hard enough, and when it fails it becomes a falling hazard on top of a stair fall. Hardware-mounted means screwed into the wall (or into a banister adapter kit) so it cannot be pushed out of place.
Pressure-mounted gates are fine — and genuinely useful — at the bottom of the stairs and in doorways, where a failure means a gate tipping onto the floor, not a child tumbling down a flight. The rule is simple to remember: hardware at the top, pressure anywhere else. Test every gate monthly by pushing it hard from both sides; a gate that wobbles is a gate that has already decided to fail.
What Do Parents Most Often Forget When Babyproofing?
The most-forgotten babyproofing hazards are visitors’ handbags, grandparents’ houses, door pinch points, pets, and old safety products. Visitors’ handbags are the classic: a guest’s purse holds medication, and a single pill can be a poisoning emergency — ask visitors to hang bags high or keep them in a closed room. Grandparents’ houses need their own pass, or better, a portable kit you carry: a travel gate, outlet covers and a few cabinet locks in a bag, so the baby’s second home is as safe as the first.
Door pinch guards are the small fix nobody thinks of until a finger is caught — they cost almost nothing. Pets deserve an honest line too: even friendly pets spook, so supervise every interaction and give the pet a baby-free retreat room. And do not use old or handed-down safety products: standards change and recalls happen, so check any second-hand gear against current standards before it goes near the baby.
When Should You Re-Babyproof?
You should re-babyproof at every mobility milestone, because babyproofing is a project, not a purchase. The house your newborn sleeps in is not the house your climber explores, and the checklist that worked at four months is already out of date at twelve. Here is the schedule:
| When | What changed | Re-check |
|---|---|---|
| Before arrival | nothing moves yet | full first pass: anchors, gates, locks, covers |
| Rolling (4–6 mo) | reaches new surfaces | cords, small objects at floor level, crib mattress lower |
| Crawling (6–10 mo) | explores whole rooms | cabinet/drawer locks, under-sink, pet bowls, rugs |
| Pulling to stand (~9 mo) | reaches up and pulls down | tablecloths, TV, table edges, bookcases — the tip-over window OPENS here |
| Walking/climbing (12+ mo) | opens, climbs, pushes | door knob covers, climbable furniture moved, gate strength re-tested |
Put the re-check on the calendar like a doctor’s appointment. The pulling-to-stand re-check is the most important one: that is the day the tip-over window opens, and most parents are still running last month’s checklist.
Should You Hire a Professional Babyproofer?
Hire a professional babyproofer when the house is complicated, the clock is short, or the stakes are high: a two-story house with open stairs, a pool, an older home with odd construction, or a schedule that will not leave you a free weekend. An IAFCS-certified childproofer will walk the house with a professional’s eye — the kind that spots the climbing route from the couch to the bookshelf that you walked past three times.
The honest middle path, and the one I recommend most: pay for a professional assessment, then do the installation yourself. You get the expert’s hazard list for a fraction of a full-service price, and the install work itself — anchors, gates, locks — is exactly the kind of straightforward trade work a handy homeowner can do well. A pro assessment plus your own install is the sweet spot between a guess and a bill.
PRO TIP
Anchor first, decorate second. Every room in this guide has the same order: anchors and gates on day one, locks and covers on day two, corner guards and cosmetics last. Parents who start with the cute stuff run out of weekend before they reach the lethal stuff — and the lethal stuff is the whole point. If you do nothing else today, anchor the dresser and the TV. That single job covers the hazard that injures the most children in this entire guide.
Frequently Asked Questions
When should I start babyproofing?
Start at 4–5 months, before crawling begins. Crawling can start around 6 months, and babies go from “barely rolling” to “across the room” in what feels like a weekend. Starting at 4–5 months gives you time to do the anchors and gates properly instead of in a panic.
Can I babyproof if I rent?
Yes. Use command-strip anchors where the landlord allows, freestanding gates at the bottom of stairs and in doorways, and adhesive cabinet locks that remove cleanly. Hardware-mounted gates at the top of stairs are still the rule — ask the landlord in writing and offer to repair the screw holes on move-out.
How much does babyproofing cost?
A core kit — anchors, one hardware-mounted gate, cabinet locks, outlet covers, a toilet lock and corner guards — runs about $100–$200. Add a second gate, magnetic locks for the whole kitchen, and a portable kit for grandparents, and most homes land under $400 all-in.
Do I need to babyproof at grandparents’ house?
Yes — or at least, carry the portable kit. Grandparents’ homes are where the classic accidents happen: unsecured medicines, heavy furniture that was never anchored, and stairs with no gate. A travel gate, outlet covers and cabinet locks in a bag turn any house into a safe one for a weekend visit.
How often should I re-check my babyproofing?
At every mobility milestone: rolling, crawling, pulling to stand, walking and climbing. Between milestones, test gates monthly and re-check anchors whenever furniture moves. If a piece of furniture has been dragged across a room, its anchor is suspect until you check it.
At what age can babyproofing measures come off?
Gradually, and later than most parents expect — most measures stay until age 3–4, and gates at the top of stairs stay until a child can reliably navigate stairs alone, usually around age 3. Remove measures room by room as the child proves they understand the rule, not on a birthday. The gate at the top of the stairs is always the last thing to go.
The Bottom Line
A babyproofing checklist is not a shopping list — it is an order of operations. Anchor the tall furniture into studs, put a hardware-mounted gate at the top of the stairs, lock the cabinets, cover the outlets, cut the cords, set the water heater to 120°F, and then re-walk the house every time your baby learns a new way to move. Do the lethal stuff first, the bruise stuff second, and the pretty stuff last. When the house is party-ready and you are ready to make it baby-ready, start with our baby shower decorations guide for the celebration side — and when the deep clean comes, deep cleaning before baby post 10, Natalie has the room-by-room version. For the pregnancy-safety side of the same house, pest-control safety in pregnancy post 11, Marcus covers what to check before the baby arrives.